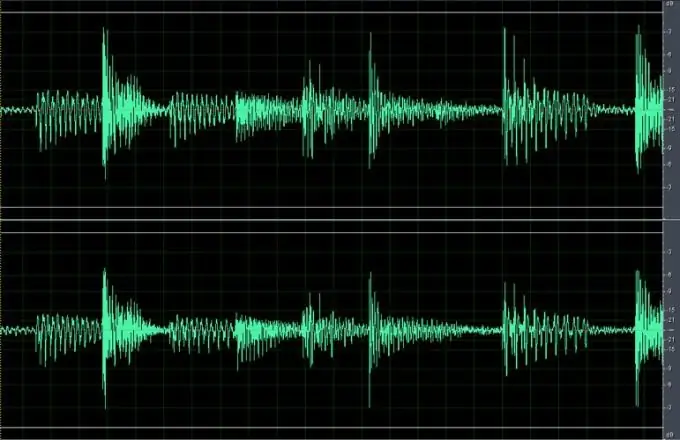
A recording made in conditions of insufficient noise isolation may contain a number of extraneous sounds, such as the noise of passing vehicles or rustling caused by touching the body of a device with a built-in microphone. By applying the Adobe Audition Noise Reduction filter, you can remove these unwanted add-ons from your file.

Necessary
- - Adobe Audition program;
- - sound file.
Instructions
Step 1
Load the sound into Adobe Audition using the Open option of the File menu. If you've recently worked with this file, select it from the list at the bottom of the File menu.
Step 2
To correctly remove noise from a recording, you need to tell the program its sample. To do this, find a fragment of the loaded file that contains only noise and select it. To capture the profile, use the Alt + N keyboard shortcut.
Step 3
If you are working with a long file, use the Zoom palette tools to zoom in on the graphical representation of the sound. To enlarge the image horizontally, click on the Zoom In Horizontally tool. If you need to stretch the sound wave vertically, apply Zoom In Vertically. Use the Zoom Out Full Both Axes tool to return the sound to its original form.
Step 4
The recording may contain more than one noise, and a profile captured from one piece of sound will not help in cleaning up another section of the file. To process such a recording, capture several noise samples from different locations and save them as separate files. Select one of the noisy fragments with the mouse and open the filter window with the Noise Reduction option of the Restoration group of the Effects menu.
Step 5
Use the Capture Profile button to capture a noise profile. After the end of this process, the Save button will appear in the filter window. With its help, you can save the sample to a separate file. To load the saved profile into the filter, click the Load button.
Step 6
It may turn out that the size of the recording fragment that you specified as the source for capturing the profile is too small. In this case, instead of analyzing the sample, the program will display a message about this unfortunate fact. To get a noise profile based on a small fragment, decrease the value in the FFT Size field of the filter settings.
Step 7
To remove noise, select the area of the recording you are going to work with, or click the Select Entire File button in the filter window to select the entire sound. By default, the filter will work with the last captured noise profile. Set the slider in the Noise Reduction Level field to the desired value and listen to the result by clicking on the Preview button. If the noise is not completely removed, increase the Noise Reduction Level.
Step 8
You can check if the sound that you wanted to clear is not removed from the recording along with the noise by selecting the Keep Only Noise option in the filter window. If you hear more than just the noise to be removed at these settings, lower the noise reduction level.
Step 9
Save the noise-free file using the Save As option of the File menu under a name that differs from the name of the source.


