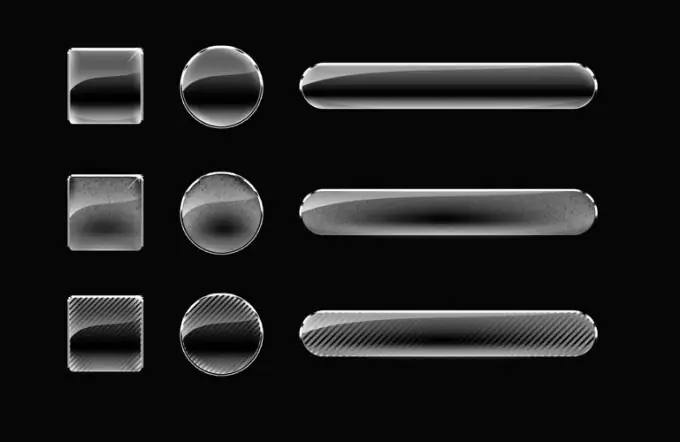
In the design of sites, three-dimensional navigation elements are often used. Such buttons can be made in the graphics editor Photoshop, simulating the volume using shadows and gradient fill.

Necessary
Photoshop program
Instructions
Step 1
Create a new document in a graphical editor using the New option from the File menu. Select the size of the new document to fit the button, and make the background transparent.
Step 2
Activate the Rounded Rectangle Tool. If you want a slightly rounded button, in the Tool Options bar, set the Radius to one millimeter. Draw a rounded rectangle using the selected tool. The resulting shape will be the base for the button.
Step 3
Right click on the layer and select the Rasterize Layer option. Load the selection with the Load Selection option from the Select menu.
Step 4
Use the Gradient Tool to fill the button with a two-color gradient, choosing a suitable combination of colors from the presets in the gradient palette. The gradient style should be linear, select it by clicking on the Linear Gradient button under the main menu. The upper part of the button after filling should be lighter than the lower one.
Step 5
Apply a style to the layer. To do this, use the Blending Options option from the context menu. Select the Drop Shadow tab and enter a value of one hundred twenty degrees for the Angle parameter. Set the Size parameter to three pixels.
Step 6
In the Inner Shadow tab set the same value for the Angle parameter, and for the Size set the value to five pixels. Apply the style by pressing the Enter key.
Step 7
Make a shadow for the button. To do this, click on the Create a new layer button and fill the selected area of the new layer with black. Select the Paint Bucket Tool for this. Deselect with Ctrl + D.
Step 8
Apply a Gaussian Blur filter from the Blur group of the Filter menu to the black rectangle. Set the Radius to four pixels. Drag the shadow layer under the button layer with the mouse and raise the shadow three to four pixels up. To do this, activate the Move Tool and move the shadow with the cursor buttons. Reduce the Opacity for this layer to sixty percent.
Step 9
Make the active layer with the button and load a selection from it. Reduce the selection by two pixels using the Contract option from the Modify group of the Selection menu.
Step 10
Create a new layer and fill the resulting selection with a linear gradient from white to transparent so that the white part is at the bottom of the button. Deselect the selection. Using the Free Transform option from the Edit menu, reduce the area covered by the gradient vertically. Apply the transformation with the Enter key.
Step 11
Change the Blend Mode of the gradient layer to Overlay. This can be done by selecting a mode from the drop-down list on the left side of the Styles palette. Reduce the Opacity of the layer to sixty percent.
Step 12
Using the Horizontal Type Tool, write the text that should be on the button.
Step 13
Collect all the layers into a folder using the Group Layers option from the Layer menu, selecting them while holding down the Ctrl key. Save the button to a psd file using the Save option from the File menu.


