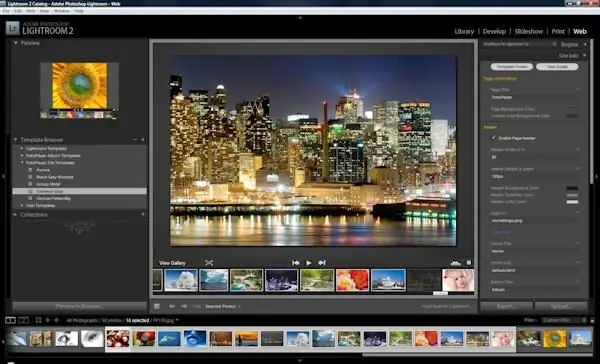
Installing plugins in Lightroom Photo Editor greatly simplifies the process of working with images. Downloading and installing them is quite simple, even a novice user of the program can handle it.

Necessary
access to the Internet
Instructions
Step 1
To install plugins for the Lightroom software, download them from a trusted source. It is best to choose archives with files that have positive feedback from users of the program of the same version as installed on your computer.
Step 2
After that, unpack the contents of the archives you downloaded and check them for viruses without fail. Please note that malicious content is often downloaded with add-ons to programs, so try to use updated database versions for checking.
Step 3
Separate the Lightroom plugins from the rest of the files contained in the archives, these can be various image files, links and text documents, to simplify the process, organize them by type. After that, copy only the plugins to Lightroom by selecting them with the mouse and right-clicking to bring up the context menu.
Step 4
You can also just copy the entire content, however, it will not be readable by Lightroom. The weight of the add-ons folder will only increase, which can significantly affect the performance of the program.
Step 5
Paste the copied files for Lightroom into the add-ons folder. On macOS operating systems, use the / Library / ApplicationSupport / Adobe / Lightroom / Modules / directory if you want to install plugins for all users of the computer.
Step 6
If you don't want other account owners to use them, paste the copied items into the same folder for your user. For Windows operating system, the folder for inserting plugins will be C: / Documents and Settings / username / Application Data / Adobe / Lightroom / Modules / or C: / Program Files / Adobe / Adobe Photoshop Lightroom 1.4 / Modules /. To make the plug-ins appear in the Lightroom menu, restart it or simply close it before copying them.


