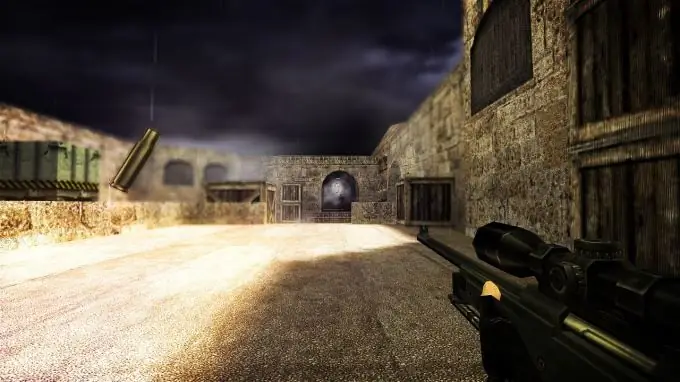
Some Counter-Strike fans want to share their achievements with their friends. The best way to do this is to create a video of the best moments of the game. But for this you need to have a demo recording of the gameplay.

Necessary
Counter-Strike, VideoMatch
Instructions
Step 1
To record a demo from the first person, you need to know a set of certain commands. Open the game console and enter record name, where name is the name of the future file containing the game record. To stop recording, enter the stop command. If you do not want the moments of opening and closing the console to slip in the demo, then program certain keys.
Step 2
Enter the commands bind "K" "record name" and bind "L" "stop". Now, pressing the K button will start the demo recording, and after pressing the L button, the recording will stop.
Step 3
Now let's move on to creating a video. The fact is that the files containing the gameplay recording are reproduced only from the Counter-Strike game itself. This is not always convenient, so ordinary video files with the avi extension are created.
Step 4
Start the game and enter viewdemo name in the console. The functions of the game allow you to take a certain number of screenshots per second. Select the desired moment and enter the command startmovie name 30. After pressing the Enter key, thirty screenshots will be taken every second of playback. To pause recording, enter the stopmovie command.
Step 5
Create several similar sets of screenshots. Remember to change the name value to avoid overwriting files.
Step 6
Now you need a program that can create a video file from a group of images. Let's take the VideoMatch utility as an example. Run the program and open the File menu. Select Open, open the folder with screenshots and select the required files.
Step 7
Click on the "floppy" icon and select Video Only in the file options. Click on the triangle labeled Start Processing. Better to create a separate avi file for each moment. This will facilitate further operations with them.
Step 8
You can use any screen capture program and run it while watching the demo. This will make the video creation process much easier, but will greatly affect its quality.


