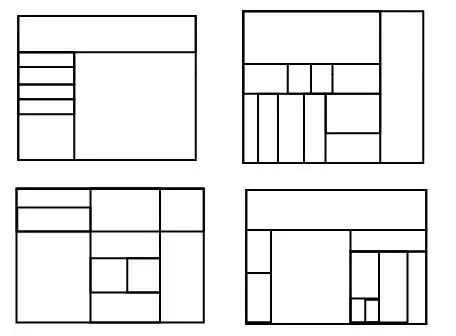
Powerful text editors have extensive capabilities for processing and formatting the documents you create. By means of the editor, the text can be represented using various elements and forms. One of the most commonly used forms of data structuring is tables. Any document data can be represented in the form of table elements. It makes sense to insert many elements and forms of the editor into each other for better perception. Moreover, a table can also be specified as an element of the table. You can insert a table into a table using a text editor.

Instructions
Step 1
Start Microsoft Word editor. In the application, create a new document or open an existing one. In the application menu, select "Table" - "Insert" - "Table".
Step 2
The window of the table setting mode will start on the screen. Set the parameters of the future table in it. To do this, set the values you need in the "Number of rows" and "Number of columns" fields. Adjust the width of the columns in the fields below to your liking. Click the "Ok" button. A table with the specified rows and columns will appear on the current sheet of the document.
Step 3
Place your cursor in the table cell where you want the nested table. Call the context menu of the cell by right-clicking. Click in it on the line "Add table".
Step 4
The application will launch the table creation mode similar to the one described above. Make all the settings for the nested table and save them with the "OK" button. The created table will be displayed in the current cell of the main table. Set the formatting of both elements using the "Table" - "Auto Table Format" option or manually setting the properties of each table. Adjust the size of the cells according to their contents. The nested table in the table is built.


