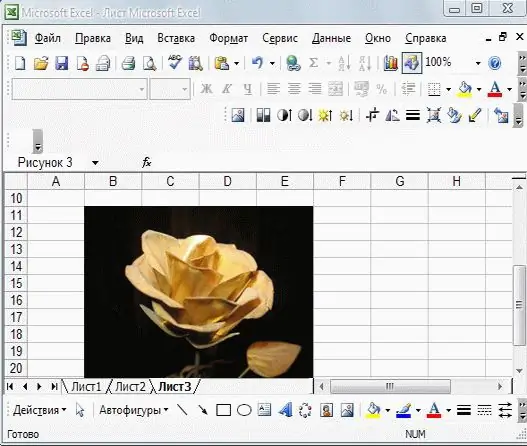
The Excel spreadsheet editor from Microsoft allows you to insert various graphic objects into tables - illustrations, diagrams or logos. Adding pictures to the table increases its attractiveness and clarity.

Instructions
Step 1
Add a suitable picture from the MS Clip Gallery application to the table. Select the required table cell where you will insert the picture. Choose Insert → Picture → Pictures from the menu. In the "Insert picture" window that appears, click "Find". A window with a list of available images will appear. Select the appropriate one by double-clicking on it.
Step 2
If the image that you want to add to the table is in files stored on your computer, in the "Insert" tab, select the command Picture → From file. (or "A collection of pictures"). A window will appear, on the left side of which there is a list of directories available on your computer, and on the right side - thumbnails of the pictures located there.
Step 3
Open any subfolders by clicking on the "+" in the square to the left of the directory name. After selecting the desired picture, place the cursor on it. Press and do not release the left mouse button. Drag the selected picture to the desired place on the worksheet of the table. If the drag-and-drop method doesn't work for you, use copying the image to the clipboard.
Step 4
Click on the picture with the right mouse button. In the drop-down menu, select "Copy". Place the cursor in the desired cell in the table. Right-click again and select Paste. You can also use the "Paste" button located in the upper menu of the table sheet to paste the image copied into the clipboard.
Step 5
If you need to change the dimensions of a picture inserted into the table, move the cursor to the picture and click on it. A frame of circles will appear around. Clicking on the middle circles in the horizontal or vertical planes and without releasing the left mouse button, resize the picture horizontally and / or vertically. Clicking on the corner circles, resize the picture vertically and horizontally at the same time.
Step 6
If you want to move the picture to another place in the table, left-click on it and, without releasing it, drag the picture to the desired location. If you want to delete a picture, left-click on it. A circle frame appears around the picture. Press the Del button and delete the image.


