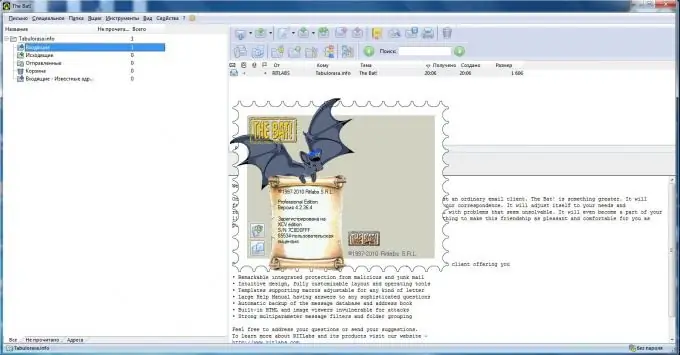
The Bat! Mail client program will make life easier for a user who receives and sends a large volume of correspondence with the absence of restrictions on the number of mailboxes, multilingual interface, regular appearance of new versions and wide customization options.

Necessary
The Bat
Instructions
Step 1
Open The Bat! to enter the main menu of the program.
Step 2
Select the "Mailbox" item in the menu of the upper application bar and select the "New mailbox" item.
Step 3
Enter the desired name in the "Mailbox Name" field of the "Create New Mailbox" dialog box and click the "Next" button to confirm your choice.
Step 4
Enter the email address corresponding to the mailbox you just created in the Email Address field of the new dialog box that opens. The field "First and last name" will be filled in automatically with the value of the name of the created mailbox. The field "Organization" is optional and is filled in at the request of the user.
Step 5
Apply the check box next to POP3 - Post Office Protocol v3 in the "To access the mail server, use the protocol:" section of the following dialog box and enter the name of the server specified in the protocols for accessing the required mail in the "Server for receiving mail" field.
Step 6
Enter the SMTP_server value of your ISP in the SMTP Server Address field and make sure the checkbox is cleared in the My SMTP Server Requires Authentication field.
Step 7
Click the Next button to confirm the command execution.
Step 8
Enter the username from the email with the access parameters in the User field of the next New Mailbox dialog box.
Step 9
Enter the password provided in the email in the Password field and make sure the password value is case sensitive.
Step 10
Click the Next button to proceed to checking the rest of the mailbox properties.
Step 11
Make sure that the entered data is correct in the verification window that opens and confirm your choice by clicking OK.
Step 12
Open the "Letter" item in the main window of The Bat! and select "Create".
Step 13
Send yourself a test email to the newly created mailbox.
Step 14
Select the item "Box - receive new mail (F2) and make sure you receive the letter."
Step 15
Repeat the above procedure for each desired mailbox.


