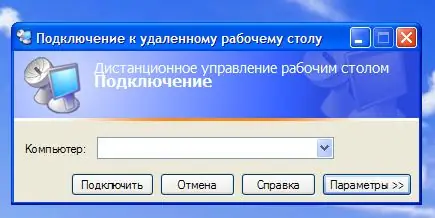
The Remote Assistance tool has existed as a standard feature of the system since Windows XP. Its main purpose is to enable users to provide remote assistance to each other. "Remote Assistance", like any other tool, has its limitations, but it copes well with its main function.

Instructions
Step 1
Click the "Start" button and enter "My Computer". Select Properties.
Step 2
Select the check box next to "Allow sending an invitation to remote assistance" on the "Remote Sessions" tab.
Step 3
Click the Advanced button and select the check box next to Allow remote control of this computer.
Step 4
Return to the main menu to configure the firewall. Go to Control Panel and select Windows Firewall.
Step 5
Uncheck the box in the "Remote Assistance" line on the "Exceptions" tab.
Step 6
Disable all non-functional network interfaces and make sure VPN connection with expert is established.
Step 7
Go back to the Start menu and open the Help and Support window.
Step 8
Click on "Request for connection for remote assistance" in the "Request for support" section.
Step 9
Select the "Send invitation" link. The invitation contains the IP address of the person requesting assistance. You can use Outlook or MSN to send the invitation. Select the Save prompt to file box.
Step 10
Enter a name (arbitrary) and the duration of the invitation.
Step 11
Type your password to confirm the selected action.
Step 12
Click the Save Invitation button.
Step 13
Pass the invitation and password to the expert. An expert will open it with the "Explorer" and establish a connection. Your computer will receive a request to authorize the maintenance session.
Step 14
Click the "Yes" button. This will allow the expert to see the screen and communicate messages and recommendations. Answers can be entered in the program dialog window. File transfer is carried out using the "Send File" button, and voice communication - using the "Start Conversation" button.
Step 15
Click the "Yes" button when prompted to control the computer by an expert. You can cancel shared control by clicking the Stop Control button, and end the help session by clicking Disconnect.


