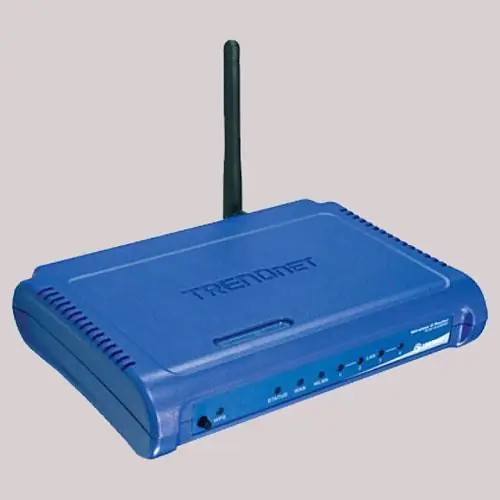
In order for the router to function safely in the network of a particular provider, it must be configured correctly. To do this, you need to have a connection or the technical ability to connect to the provider.

Instructions
Step 1
Make sure that your Internet connection is active and fully functional, that is, web pages open, mail is sent and received, ICQ is working, and so on.
Step 2
Connect an Ethernet cable to any of the LAN ports located on the back of the router, then connect the other end of the cable to the LAN port of the network adapter on your computer, and connect the ISP's network cable to the WAN port on the router.
Step 3
Configure the network card. To do this, click on the "Start" button, then select "Control Panel", then go to the "Network Connections" section and open the properties window of the local area network connection by right-clicking on the icon and selecting "Properties". Next, select "Internet Protocol (TCP / IP)" and click on the "Properties" button under the list of components used by the connection. In the window that opens, select "Obtain DNS servers automatically" and "Obtain an IP address automatically", then confirm the changes by clicking "OK".
Step 4
In order to configure TRENDnet router through the web interface of your provider, launch the browser and enter the required address in the address bar (for example, the address 192.168.10.1 for the GORKOM provider), then enter “admin” in the personal data entry window (without quotes) in both fields, check the box next to "Save password" and click "OK".
Step 5
In order to configure the connection to the provider, in the window that opens in the browser, select the MAIN menu and the Wan submenu, click the Clone MAC Address button, in order to copy the MAC address, set the connection type to DHCP Client or Fixed IP for a static address. Then enter the values specified in your agreement with the provider in the “Specify IP”, “Subnet Mask”, “Default Gateway”, “DNS1”, “DNS2” fields and save the settings by clicking on the “Apply” button.


