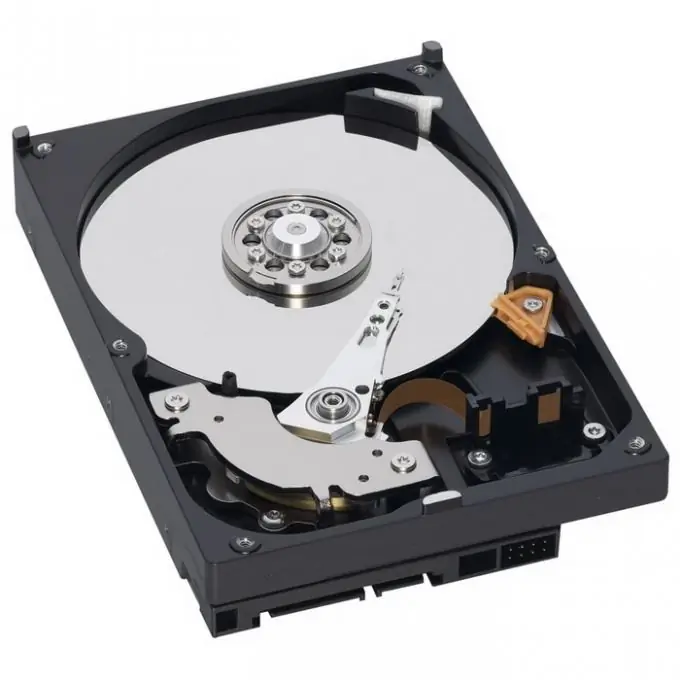
It takes less than 10 minutes to connect a SATA disk to a personal computer. If you know all the little things, you can connect a hard drive much faster.

Necessary
SATA disk kit, computer
Instructions
Step 1
The main characteristics of the disks:
- The SATA cable has the same connectors. One connector leads to the motherboard, the other directly to the hard drive. Incorrect connection of SATA drives - impossible operation;
- SATA drives do not have jumpers available - the connection is very simple.
Step 2
In order to connect a SATA disk, you must:
- find the corresponding connector on the motherboard;
- connect the connecting cable;
- connect to hard drive;
- connect the power cable to the hard drive (you will need a special cable supplied with the hard drive). Sometimes an adapter is included.
Step 3
In order for your operating system to be able to see the new disk, you must set the operating mode of this disk.
Step 4
Close the lid of the system unit, if it was open, and supply power to the unit.
Step 5
Turn on the system unit, when the computer boots up, press the Delete button.
Step 6
BIOS Setup will appear on the screen - go to the tab for selecting parameters of installed devices - enable SATA mode.
Step 7
When installing any operating system, additional drivers are required for your disk. However, some versions of operating systems are already equipped with such drivers.
Step 8
When installing a hard disk with an already installed operating system, the drivers are loaded into the system after the computer is turned on and the welcome screen appears.
Step 9
Sometimes it happens that you were advised to buy a SATA hard drive from a store, but your motherboard does not support it. In this case, you need to purchase a PCI card to connect the hard drive to your system unit.


