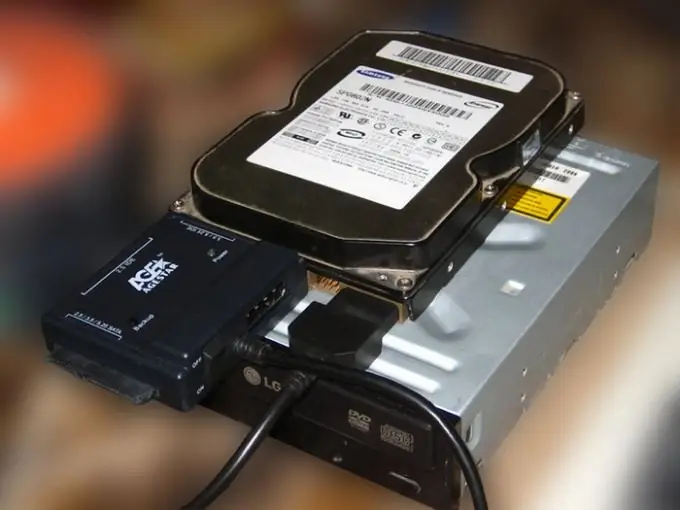
Sometimes it becomes necessary to connect several internal hard drives to one system unit. Problems begin only if these drives are in different formats: IDE and SATA.

Necessary
IDE-SATA adapter
Instructions
Step 1
Do not be upset - it is quite easy to connect hard drives with different formats to one motherboard. Remove the walls of the system unit and examine the ports on the motherboard.
Step 2
The fact is that quite often even those motherboard models in which the main hard drive is connected via a SATA channel have IDE ports. Most often, DVD drives are connected to them. Find these connectors.
Step 3
If a drive is connected to one of them, disconnect it and use the free ribbon cable to connect a new hard drive.
Step 4
If such a port is free, purchase a ribbon cable (if there is none) and connect a hard drive to it.
Step 5
Don't be discouraged if your motherboard contains only SATA connectors or only IDE connectors. There are special connectors that allow you to connect hard drives with alternate ports. Purchase the required adapter.
Step 6
Connect the purchased connector to the ribbon cable coming from the motherboard. Connect the connector to the hard drive.
Step 7
Turn on your computer. Press Del key to enter BIOS menu. Open the Boot Device Priority menu. Assign your old hard drive (on which the operating system is installed) as the primary device at boot.
Step 8
Save your changes by choosing Save & Exit. Wait for the operating system to load. Most likely, it will automatically install the driver for the new hard drive. After its completion, make sure that the connected hard drive is working.


