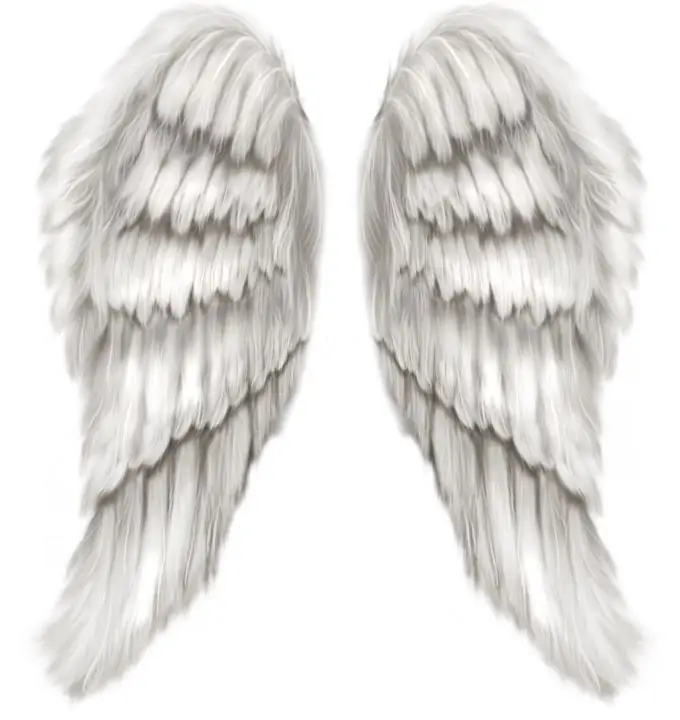
An original photomontage is able to transform a photo, creating a radically new look, in accordance with any wishes. If you dream of seeing yourself in the image of an angel, you can draw angel wings in Photoshop to subsequently superimpose one image on another and get a beautiful and romantic photo.

Instructions
Step 1
First, create a new document with a black fill. Open the Layers palette and create a new layer. After that draw on a new layer an elongated narrow triangle from left to right using the Rectangular Marquee Tool. Select Fill from the toolbar and fill the wedge with white. Then choose Deselect from the Select menu.
Step 2
Open the Image menu and select the Rotate Canvas Arbitrary option, specifying the wedge to rotate 20 degrees. For the rotated wedge, apply the Stylize> Wind filter from the menu. Adjust the wind filter so that its direction is set to the From the left parameter. Apply the same filter twice to the white wedge.
Step 3
Open the Image menu and rotate the wedge back 20 degrees and then apply the Wind filter to it twice again. Duplicate this layer four times using the Duplicate Layer function, and then use the option from the Edit Free Transform menu to shrink the copied layers at random, forming air feathers.
Step 4
Decrease and change the direction of the "feathers" so that they begin to resemble a translucent fan. Turn off the Background layer and then merge the layers with the "feathers" by choosing the Merge Visible option from the Layer menu. Turn back the visibility of the black background layer.
Step 5
Now create a new layer and draw another wedge using the Rectangular Marquee Tool, similar to the first, directing it in the opposite direction from the extreme point of the previous wedge. Fill it with white using the Fill tool.
Step 6
Repeat all the above steps with duplicating the layer and transforming the feathers of the second wing. Merge the layers and open the Filter menu and then select the Distort> Wave filter. Set the number of generators to 1. Edit the wavelength by changing its parameters until the result seems suitable for you. Copy the wing layer and merge it with the previous one.


