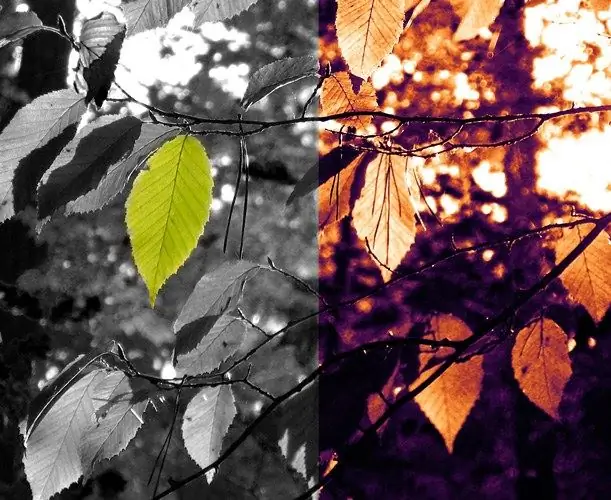
With the help of Photoshop, you can not only turn a color image into a black and white image, but also perform the reverse transformation. This can be done by painting the picture with a gradient card or by overlaying the color with the Brush tool.

Necessary
- - Photoshop program;
- - Photo.
Instructions
Step 1
Load the image into Photoshop to color the image using a gradient map. Use the Gradient Map option in the New Adjustments Layer group of the Layer menu to add a new adjustment layer to the document. By applying the filter not to the image itself, but to a separate layer, you will be able to change the superimposed gradient, leave part of the image as it was, and get new color effects by changing the layer blending mode.
Step 2
Click on the gradient bar in the window that opens to customize the colors in which the photo will be painted. If you want to get a quick result, select one of the gradients loaded into the palette by clicking on the swatch. The darkest areas of the image will be colored with the color assigned to the leftmost marker. The far right marker is responsible for coloring the light areas of the image.
Step 3
If you want to customize a new gradient, click on the marker you want to change the color of. Click on the colored rectangle that appears under the gradient and select the desired shade.
Step 4
You can open any color picture as a sample. When adjusting the marker on the gradient bar, choose a color by clicking on the dark area of the swatch if you are choosing a shade for the left marker. When adjusting the right marker, pick a color from the highlight of the image you are using as a source.
Step 5
To add colors to the gradient, click on the bottom of the gradient bar and assign a color to the new marker.
Step 6
Black and white image can be colored with the Brush Tool. To do this, add a transparent layer to the document using the Layer option in the New group of the Layer menu. Turn on for the created layer the blending mode Color or Multiply, choosing an item from the list at the top of the layers palette.
Step 7
Turn on the Brush Tool and paint over large areas of the photo with the selected color. By creating a separate layer for each color, you will be able to edit the hue of any part of the image without affecting other areas. After coloring the large fragments, go to the small details.
Step 8
Save the colored photo with the Save As option of the File menu.


