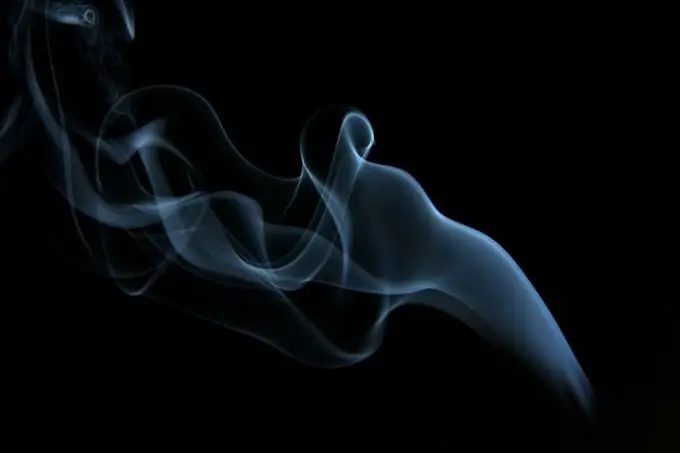
The tasks solved with the help of modern raster graphic editors are mainly associated with the processing of existing images. Creating a full-fledged composition from scratch in such an editor is a very laborious process. Fragments of realistic high-resolution images are much easier to obtain when rendering vector graphics and 3D scenes. However, thanks to the large number of filters, many pseudo-realistic images can be easily created in raster editors. For example, drawing smoke in Photoshop is a matter of a few minutes.

Necessary
Adobe Photoshop graphics editor
Instructions
Step 1
Create a new document. Press the key combination Ctrl + N, or select the "File" and "New …" items in the main menu. In the dialog that appears, set the parameters of the created document. In the Width and Height boxes, enter the width and height of the image. It makes sense to set these values in the range of 400-600 pixels. Select Transparent from the Background Contents list. In the "Color Mode" list, set the value "RGB Color", and in the list located to the right of it - the value "8 bit". Click the "OK" button.
Step 2
Choose foreground and background colors. Click on the controls located on the toolbar displaying the corresponding colors. Color selection dialogs will appear. Set the foreground color to gray (hexadecimal RGB value in the range B4B4B4-E8E8E8) and the background color to black.
Step 3
Fill the entire image space with black. Swap the foreground and background colors. Select the Paint Bucket Tool. Click the mouse anywhere on the image. Swap the foreground and background colors again.
Step 4
Create a new layer. Select "Layer", "New", "Layer …" from the menu, or press the Shift + Ctrl + N keys.
Step 5
Create a preset image of the smoke. Activate the "Polygonal Lasso Tool". Select a free-form area of the image. The shape of the selection area should be stretched in the vertical direction. It is desirable that it be sufficiently irregular in shape and asymmetric. Fill the selection with the "Paint Bucket Tool" with the foreground color. If desired, brighten the edges of the area with the Dodge Tool. Deselect the selection by pressing Ctrl + D. Merge the layers by choosing "Layer" and "Merge Down" from the menu, or by pressing Ctrl + E.
Step 6
Apply the Wave filter any number of times to the image. In the menu, select the items "Filter", "Distort", "Wave …". The configuration dialog will be displayed. Select the parameters for applying the filter to achieve the desired shape of the image deformation, or press the "Randomize" button several times. Evaluate the result by watching the change in the image in the preview pane. Click the "OK" button. Select "Edit" and "Fade Wave …" from the menu, or press Ctrl + Shift + F. In the "Fade" dialog, check the "Preview" radio button. In the "Opacity" field, enter an arbitrary value in the range of 30-70 (while watching the image change). Click the "OK" button. Repeat the sequence of applying the filter and weakening its action (operation "Fade") several times, changing the parameters. Also sometimes choose a value other than "Normal" in the "Mode" list of the "Fade" dialog.
Step 7
Apply a blur effect to the image. Select "Filter", "Blur", "Gaussian Blur …" from the menu. In the Radius field, enter a value in the range 1.2-1.6. Click the "OK" button. At this point, the smoke drawing can be considered complete.


