The graphics editor Adobe Photoshop is a powerful tool for professional digital image processing. Finishing and retouching are typical tasks that can be solved with this editor. But it is also possible to carry out quite serious changes in artistic compositions, sometimes quite dramatically changing their perception, by introducing into them previously non-existent effects. For example, you can simply add a realistic shadow to any object in your photo.

Instructions
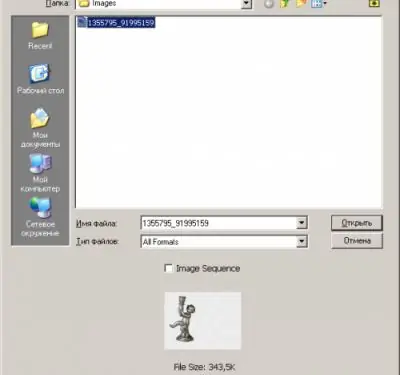
Open the graphic file in Adobe Photoshop. Using the menu items "File" and "Open …", or by pressing the key combination Ctrl + O, open the file selection dialog. Change to the target directory. Highlight the required file in the list. Click the "Open" button.
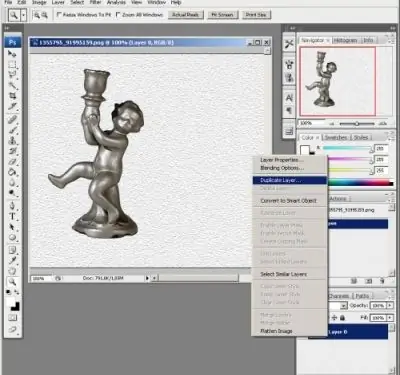
Duplicate the image layer two times. To duplicate, right-click on the corresponding element in the layer control panel. A context menu will appear. Select the item "Duplicate Layer …" in it. In the dialog that appears, enter a name for the new layer and click the "OK" button. Name one of the copy layers Object and the other Shadow. Place the Shadow layer above the original layer and below the Object layer.
Select the object to which you want to add a shadow. Use selection tools like Lasso / Polygonal Lasso / Magnetic Lasso Tool, Rectangular / Elliptical Marquee Tool, etc. You can also apply overlay and quick mask editing.
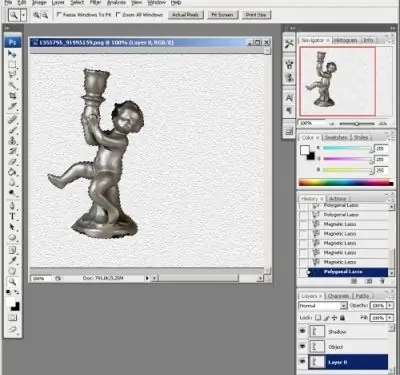
Delete the object on the layer with the original image and the background on the layers Object and Shadow. Switch to the layer with the original image. Press the Del key. Switch to the Object layer. Press the keyboard shortcut Ctrl + Shift + I, or choose "Select" and "Inverse" from the menus. Press the Del key. Switch to the Shadow layer. Press Del again.
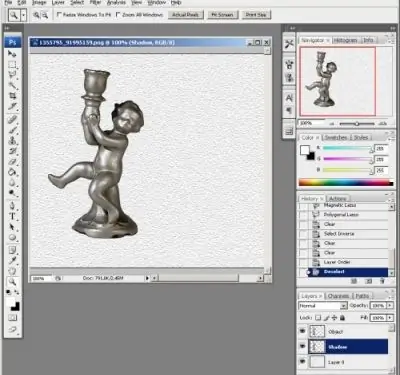
Transform the image in the Shadow layer, creating the appearance of a projection onto a plane. Select "Edit", "Transform", "Distort" from the menu. A frame appears around the image. Move the mouse cursor over the square located in the middle of the upper side of the frame. Click and hold the left mouse button. Move the cursor until a satisfactory effect is achieved. Release the left mouse button. Click on any button on the toolbar. In the window that appears, click the "Apply" button.
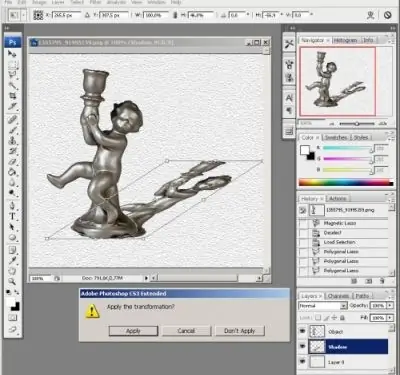
Convert the warped shadow preform image to a black silhouette. Open the "Hue / Saturation" dialog by pressing Ctrl + U on the keyboard, or by selecting the "Image", "Adjustments", "Hue / Saturation …" items from the menu. Enter 100 in the Lightness field. Click OK.
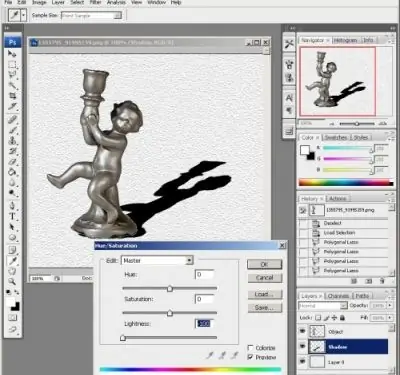
Blur the image in the Shadow layer. Select "Filter", "Blur", "Gaussian Blur …" from the menu. In the filter settings dialog, set the appropriate value in the "Radius" field. It makes sense to pick it up by moving the slider located at the bottom, while controlling the effect visually in the preview pane. When you have finished choosing the parameters, apply the filter by clicking the "OK" button.
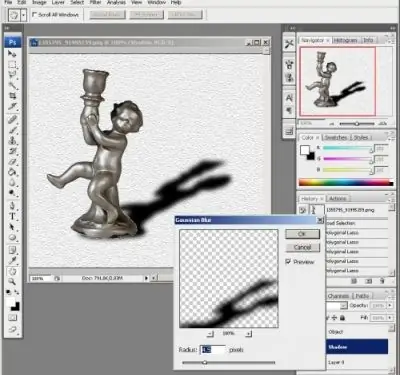
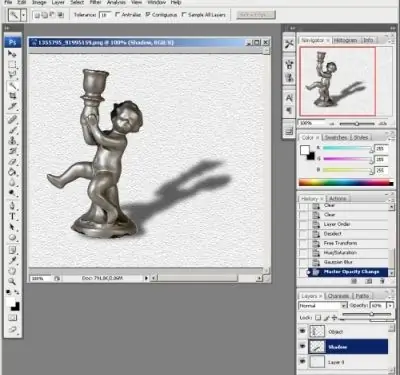
Make the shadow semi-transparent. In the "Layers" control panel, enter in the "Opacity" field the value of the opacity of the Shadow layer. This value can be selected by changing the position of the slider that appears after clicking on the arrow icon located next to the field. Typically, acceptable opacity values are in the 40-60% range.
Save a copy of the image with the drawn shadow. Press the Ctrl + Shift + Alt + S keys, or select the "File" and "Save for Web & Devices" items in the menu. Specify the saving format, adjust the compression rate. Click on the "Save" button. Select the save directory and file name. Click the "Save" button.


