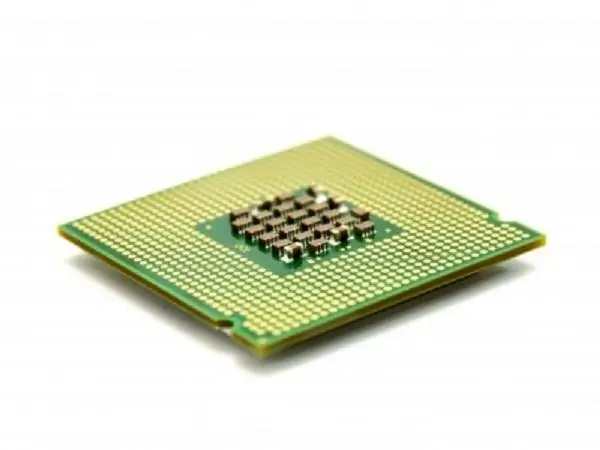
Overclocking the CPU is an effective way to improve the performance of your computer at a low cost. If you are careful in performing overclocking actions, you will protect your computer and its components from damage.

Necessary
Programs: CPU-Z, OSST or S&M
Instructions
Step 1
Before you start overclocking your processor, determine the processor specifications. Find out what frequency the "top" model of the family has in order to establish the minimum task of the upcoming overclocking. Find out the version of the processor core. Its performance and overclocking potential often differ. For more information on how well overclocked processors of a particular series, you can find out on specialized websites. For example, on the porta
Step 2
Determine your motherboard model and manufacturer. This data will allow you to find answers on the Internet if you have difficulties with overclocking the CPU. Use the CPU-Z program to identify the processor and motherboard. It doesn't require installation. Just unzip the archive and run the program.
Step 3
Check the cpu and chipset cooling system. To do this, after shutting down the computer, disconnect it from the electrical outlet and remove the left side of the case. Look at the CPU cooler. If its design is massive, there are heat pipes, then the cooling system will be sufficient for serious overclocking of the CPU. If there is a radiator with an 80 mm fan, or another similar system, then the overclocking possibilities will be limited.
Step 4
Test the stability of the system using specialized programs. For example, S&M is for AMD processors, Over Clock Checking Tool (OSST) is for checking Intel processors. These programs create a powerful computational load on the processor. The absence of crashes in these programs indicates the stability of the CPU.
Step 5
After completing the preparatory procedures, proceed directly to overclocking. Reboot your computer. When Press DEL to run Setup appears, press the Del key to enter BIOS.
Step 6
Go to the Extreme Tweaker tab and click on At Overclock Tuner. Select Manual and click the Enter key.
Step 7
In the DRAM Frequency item, set the value of the frequency of the RAM. And in the DRAM Timing Control item, click Manual, and in the settings of the CAS # Latency, RAS # to CAS # Delay and RAS # Precharge parameters, change the value to "5" using the "+" and "-" keys. Change the RAS # Active Time to "15".
Step 8
In the VCORE Voltage item, set the standard supply voltage of the CPU. This value is shown by the CPU-Z program. In the DRAM Voltage item, increase the voltage on the RAM by 0, 2-0, 3B. Increase FSB frequency by 10 MHz from the original value.
Step 9
Boot the OS. Run OSST or S&M program, run stability test. Check the temperature of PC components using HWMonitor. If the test is successful, raise the FSB frequency by another 5-10 MHz.
Step 10
In the BIOS menu in the VCORE Voltage item, increase the value by 0.05 V. If the FSB frequency is significantly increased, raise the voltage on the north bridge of the motherboard. In the Extreme Tweaker tab under North Bridge Voltage, increase the voltage with the "+" key.
Step 11
Conduct a stability test. If the system passes it, you can stop there or continue overclocking until the voltage reaches critical values or stops helping to increase the frequency.
After reaching the maximum frequency of the CPU, lower the RAM timings in the DRAM Timing Control item.


