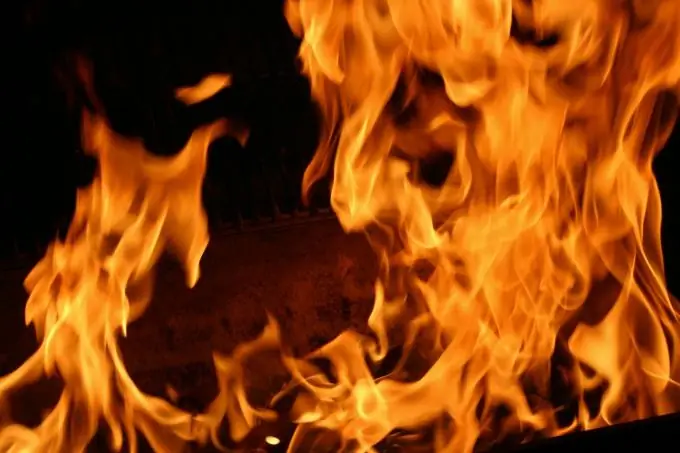
It's not very difficult to create flames in Photoshop, but this effect can come in handy in many cases.

Instructions
Step 1
Create a new document (Ctrl + N), for example a 400 by 400 pic. Fill the background with black. To do this, make the Foreground Color black and use the keyboard shortcut Shift + F5, in the dialog box that appears, click OK.
Step 2
Make a copy of the layer (keyboard shortcuts Ctrl + J). Make the Foreground Color white. In the main menu select the command Filter-Render - Clouds. If you don't really like the effect of the filter, then using the Ctrl + F keyboard shortcut, which in this case, most likely, will have to be used several times), achieve approximately the same distribution of dark and light areas.
Step 3
In the main menu select the command Filter - Render - Difference Clouds. After that, some areas of the picture will appear as if outlined in thick black.
Step 4
To remove excess areas, use the Eraser Tool and a large soft brush. Remove areas from the top of the picture so that at the bottom, the gray-white transitions are shaped like flames.
Step 5
In the main menu, select the command Filter - Liquify. Draw out and modify some areas of the fire as you wish, so that the gray-white transitions are the most similar to the flames.
Step 6
Let's change the color scheme of the picture. To do this, select the Image - Adjusnments - Gradient Map command in the main menu. Change the gradient colors from dark orange to white.
Step 7
Make a copy of the layer using the keyboard shortcut Ctrl + J. Blur it with Filter-Blur-Gaussian Blur, blur radius 10 pic. Set the layer blending mode to Screen.
Step 8
As a result, you already have a fire, but the picture can be improved a little more. Make the second layer from the top active. Use the Elliptical Marquee Tool (or M key) to select 2-4 areas. Keep Shift pressed while selecting. Use Ctrl + J to create a new layer with selected areas. Use the Liquify filter and smudge these areas. Blur them with a Gaussian Blur filter with a radius of 2-3 pic. The fire is ready.


