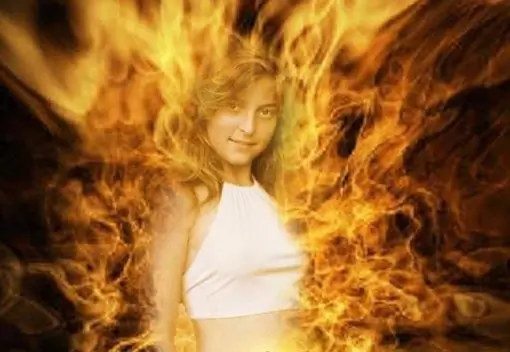
Fire is considered beautiful, strong and at the same time, a terrible element, which is why it attracts attention and bewitches. It is very difficult and dangerous to take beautiful photographs with real fire. It's much easier to resort to Photoshop and use it to create any image you like on fire.

Instructions
Step 1
Open the selected person image. Turn on the quick mask mode and start carefully painting over the shape without getting into the background. Click on mask mode again. You will see that your image stands out, albeit with the background. Find the "selection" menu in the top bar and apply the "invert" function, this will leave only one shape selected.
Step 2
Copy the selection and move it over the fire photo. Get the dimensions you need to fit everything together. Press Ctrl + T to enlarge or reduce the selected image. Create a duplicate of the layer with the resulting man and apply a "Gaussian blur" to it, when choosing the radius, set the number 10. To make it realistic, swap the place with the man and the resulting duplicate.
Step 3
Duplicate the fire layer by pressing Ctrl + j and place it very first, and then create a layer mask for it. Choose a soft brush, set the diameter you want and set the Opacity to 30%. Gently start tracing it over the image. Note that working with black, your figure will appear and become clearer, and with white, it will disappear behind the fire.
Step 4
Go to the brightness and contrast menu and experiment with choosing the parameters you like the most. Additionally, you can play with the saturation parameters. Merge all layers into one and save the resulting result.
Step 5
Try to create more realistic images and then you are guaranteed to be able to surprise all your friends and relatives. In addition to a person, a building, fence, tree, car or any animal can be placed in the fire.


