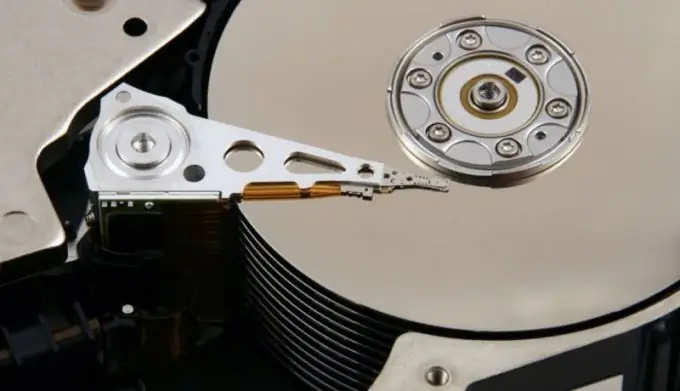
In the process of computer operation, continuous recording and reading of information, the file system of the hard disk is constantly changing. Due to the peculiarities of the structure of information storage, errors may occur on the medium during use. To ensure the normal functioning of the device, the Windows operating system offers tools for finding and correcting errors that occur.

Instructions
Step 1
Checking the hard drive for errors is necessary if during the operations of copying, opening, changing or deleting files in the system, errors occur and the running program freezes. Scanning should be done every six months, but the frequency of the procedure can be increased if you work with the computer for a long amount of time every day. Scanning can be performed if there is a decrease in the speed of the system and opening files.
Step 2
Close all programs in use before checking the disk to avoid the error recovery utility crashing. After all programs are finished, right-click on the "Start" menu icon and click "Open Explorer". On the left side of the screen, click Computer. You can also go to this menu using the "Computer" icon on the desktop (if available). Select the hard drive you want to scan with the right mouse button.
Step 3
In the context menu that appears, select Properties to go to the settings menu. In the upper part of the window, click on the "Service" tab. Among the options offered, select "Run Check" in the "Check Disk" subsection.
Step 4
You will see a menu for configuring scan parameters. Check the box next to "Fix system errors automatically" if you want all problems found by the system to be automatically fixed. You can also select the item "Check and repair bad sectors". However, selecting this section will significantly increase the scan time. It is not necessary to highlight the second item every time you check. It is only needed if you want to perform a deeper analysis of the disk file system.
Step 5
After highlighting the desired items, click "Start". If you have chosen to check the system disk, click on the "Schedule disk check" button and select the option that is most convenient for you. Thus, you can enable scanning after the next computer restart or at a specific time. After selecting the options you want, restart your computer.
Step 6
Checking the hard drive for errors will start immediately after rebooting. As soon as the procedure is over, a report on the performed operation will be displayed on the screen. Exit the verification program. Scanning the hard drive for errors is complete.


