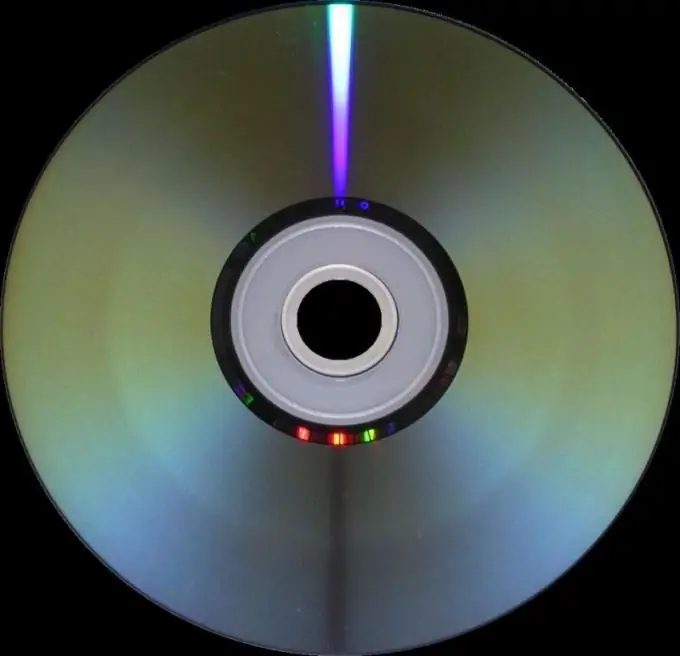
Imagine a situation that you inserted a disc into your drive, and it is not only unreadable, but also slows down the operation of the entire computer. It is not possible to remove it from the drive by conventional methods. We'll have to use other methods.

Instructions
Step 1
Check the drive button to eject the disc from the computer. The probability of a button malfunction, albeit very small, is still there. In this case, only the button does not work in the drive, the rest of its systems should be in perfect order. To verify this or discard this version, double-click on the "My Computer" icon on the desktop.
Step 2
Right click on the drive icon. In the context menu that appears, select the "Extract" item. If the tray slips out, you can remove the disc and begin to deal with the faulty button. If the miracle doesn't happen, keep looking for options.
Step 3
Install the Unlocker program on your computer. You will need it in order to check whether any of the files on the disk are busy with a system process or a virus program. Perhaps this is why the drive does not open. After the program is installed, go to "My Computer".
Step 4
Call the context menu of the drive icon again. Now it has an item called Unlocker. Click on it with the left mouse button. The program will start. Its window will display information about which file from the disk is busy with which application or process. If the path is specified, then this file is blocked.
Step 5
To remove the disc from the drive, click on the "Unlock All" button. The list will be cleared. If you still cannot remove the disc, try another option.
Step 6
Take a thin needle or paperclip (bend and straighten the paperclip). Locate the small round hole on the front of the drive. It should be under the tray, next to the button. Insert the needle in there and apply slight pressure. Without releasing, pull the tray towards you.
Step 7
Pull carefully so as not to break a loosened latch. If this method did not bring the desired result, then you need to contact the service center for help from specialists or simply purchase a new drive for your personal computer.


