Working in a graphics editor Photoshop is in no small measure associated with working with layers. By superimposing one layer on top of another, you can combine images, achieve various effects, and create stylish photographs.
Instructions
Step 1
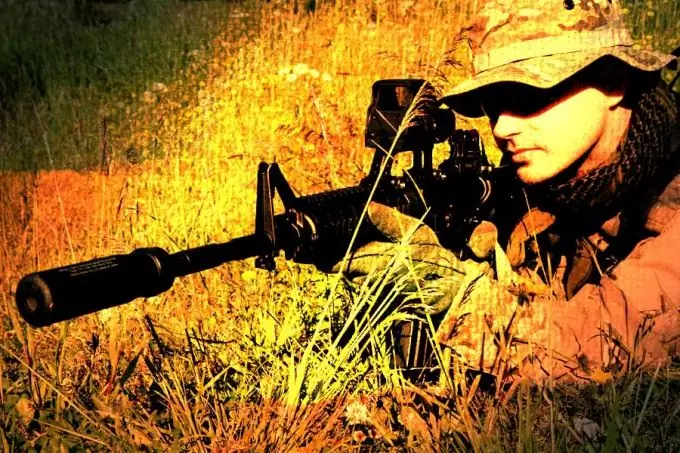
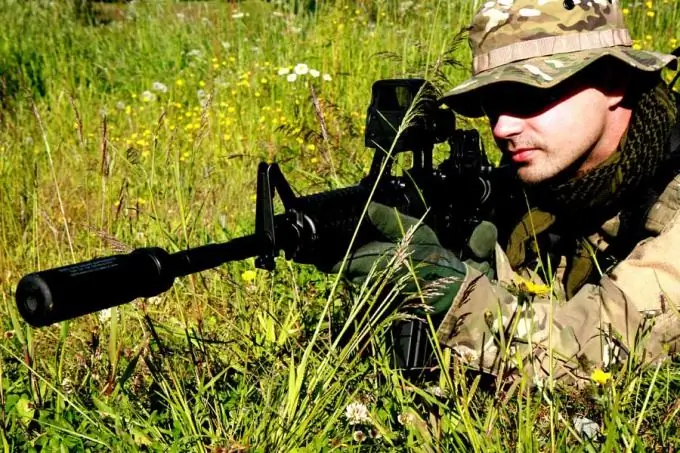
Let's take two original images. An ordinary photo.
Step 2
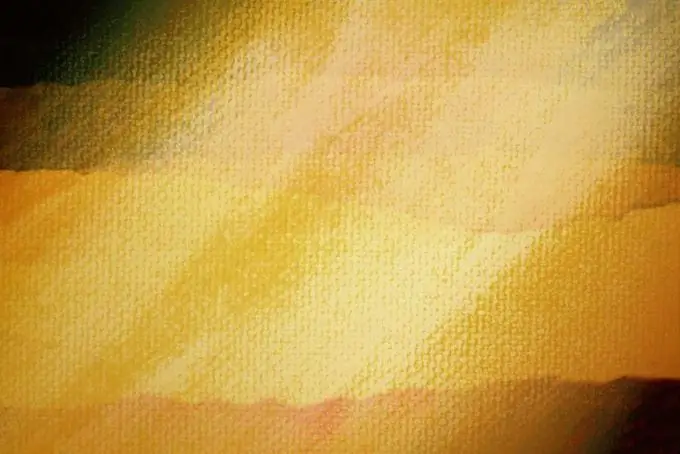
And a picture with a texture that we will overlay on our photo in different modes.
Step 3
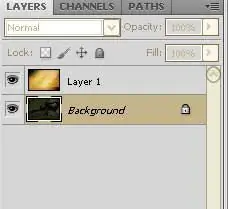
Let's merge the two images into one two-layer file that we will be working on. We will perform all actions in the Layers panel. The image of the soldier is located at the bottom and is called the Bottom Layer, the texture on the top is called the Top Layer. At the very top of the panel is a drop-down menu with various blend modes. By default, the Normal mode is set there, in which one layer simply overlaps the other, the viewer in the picture sees only the Top Layer image. Let's now play with the layer blending modes.
Step 4
All modes are divided into groups. For example, we will take one mode from the group. The Multiply layer blending mode is used to give a photo a shadow, the effect can be compared to looking at a picture through colored glass, the resulting picture will always be darker than the original.
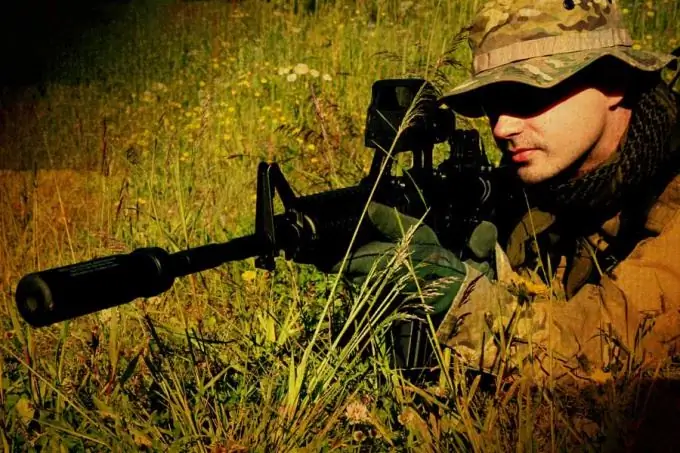
Step 5
The Screen mode, which is in the next group, will give the opposite effect, the image brightened significantly, as if it was illuminated by a flashlight.
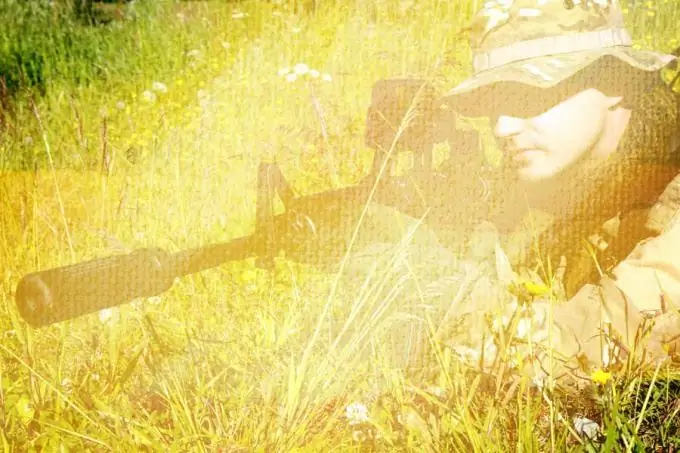
Step 6
In the Overlay mode, dark pixels are darkened even more, while light ones, on the contrary, become even lighter. This mode adds drama to the photo and is used in many artistic techniques.
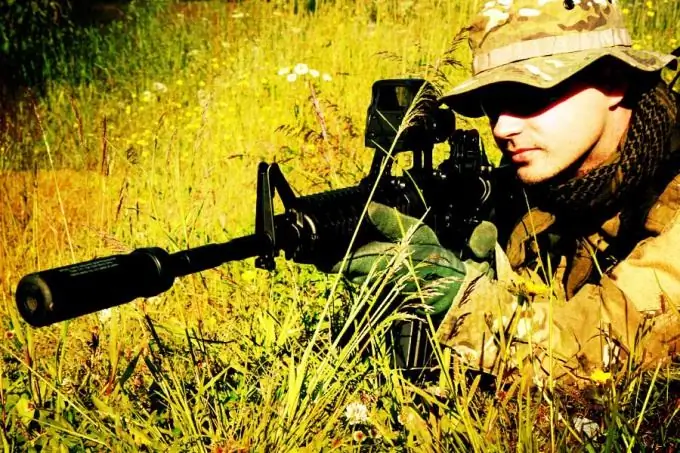
Step 7
Difference mode is based on subtracting colors and creates a kind of negative. The lighter the original image, the more interesting the final effect can be.
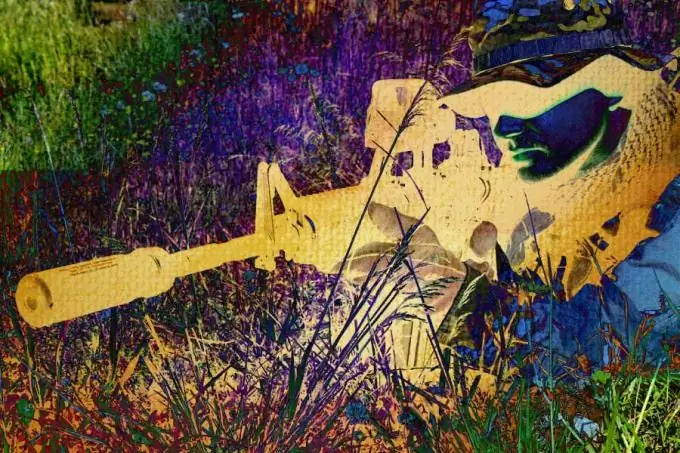
Step 8
Hue mode changes the color scheme of the picture without affecting the grayscale, thanks to this mode, you can make the sky red and the grass blue, or simply stylize the photo.
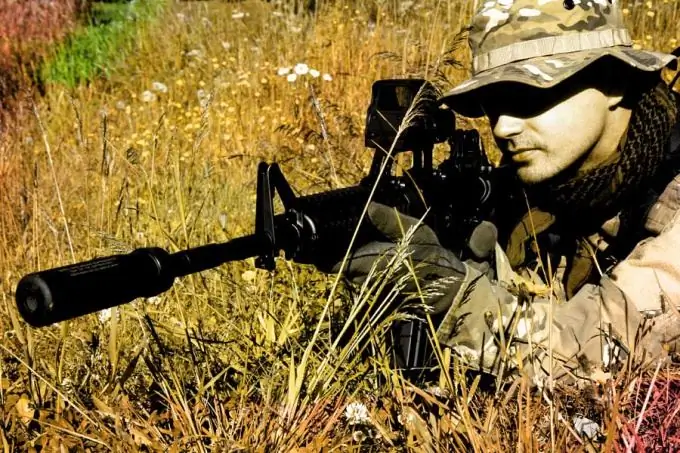
Step 9
We have covered just a few of the blending modes of layers. Try to play with layers yourself, do not be afraid to experiment, you can easily remove the result you don't like by changing one mode to another. Do not forget also about the possibility of varying the transparency of the layers. Playing with layers allows you to literally transform a photo with one click. With a little practice, you will understand how one mode differs from another, and you can successfully apply the knowledge gained.


