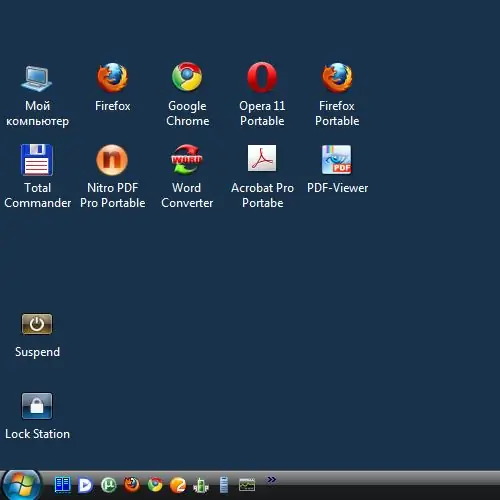
In Windows, the desktop contains icons for programs, which are basically their launch shortcuts. They can be positioned in various ways by dragging and dropping. The folders also display icons for various files. This guide will help you arrange the icons in different ways.

Necessary
Installed operating system of the Windows family
Instructions
Step 1
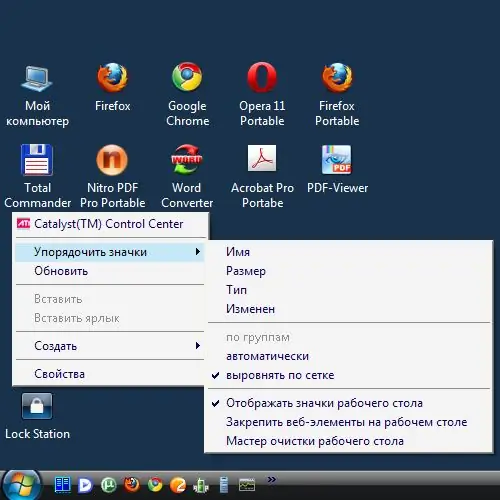
To maintain order on your desktop, use the automatic tools provided by the operating system interface. To do this, call the context menu. In any icon-free area of the Desktop, right-click.

Step 2
In the menu that appears, find the item "Arrange icons". Hover your mouse over it. If the additional menu does not appear, you must click the left button. In the menu that opens, various options for ordering icons are available. The items "Name", "Size", "Type" and "Modified" set the order of sorting. Select the required sorting option - by name, by size, by extension or by the date of the changes made. Icons will be placed one or more columns from the left edge of the Desktop. Only those that are standard will not be sorted, such as My Computer, My Documents and others.

Step 3
Select the item "Automatic". This will make the icons line up on the left edge of the Desktop, and when you move them, the order will change in the same columns. If this does not suit you, uncheck the "Automatic" checkbox.
Step 4
You can set a sorting method in which the icons will not occupy any position, but will be fixed from each other in periodic positions no closer than a certain fixed distance. This is similar to placing icons at the nodes of an invisible grid. To activate this sorting mode, use the "Align to Grid" item.
Step 5
You can arrange icons in folders. The "Arrange icons" menu is called by clicking the right mouse button in a free area of an open folder. Otherwise, it can be called from the "View" menu, which is located at the top of the folder window. This menu item sets various sets of sorting rules - "Page Thumbnails", "Tiles", "Icons", "List", "Table".


