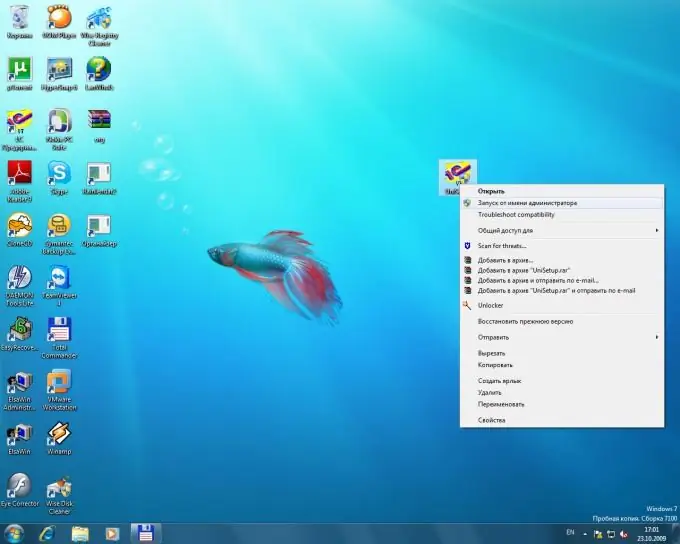
UAC - User Account Control, has become one of the most disliked features of Windows Vista and Windows 7. Disabling annoying system prompts is not a complicated technical operation and can be done without consulting a computer guru by any computer user.

Instructions
Step 1
Use an account with administrator access rights to log in to the system.
Step 2
Click the Start button to bring up the Windows main menu (for Windows 7).
Step 3
Enter UAC in the search bar and press Enter to execute the command (for Windows 7).
Step 4
Open the "Change User Account Control (UAC) Settings" link (for Windows 7).
Step 5
Examine the description of the protection levels on the right side of the computer monitor screen and set the required protection level using the slider (for Windows 7).
Step 6
Click OK to confirm your choice and restart your computer (for Windows 7).
Step 7
Click the "Start" button to enter the main system menu and go to the "Control Panel" (for Windows Vista).
Step 8
Open the "User Accounts" section and select the "Turn User Account Control (UAC)" link on or off (for Windows Vista).
Step 9
Uncheck the box next to "Use User Account Control (UAC) to protect your computer" and click OK to apply the selected changes (for Windows Vista).
Step 10
Restart your computer (for Windows Vista). An alternative method to disable User Account Control is to use the configuration utility msconfig.exe.
Step 11
Return to the main Start menu and go to Run to invoke the command line tool.
Step 12
Enter msconfig.exe in the search box and click the Open button to confirm the command.
Step 13
Wait for the "System Configuration" application window to open and go to the "Service" tab.
Step 14
Highlight the item "Disable User Account Control (UAC)" by clicking the mouse and click the "Start" button.
Step 15
Confirm your choice by clicking OK and restart your computer.


