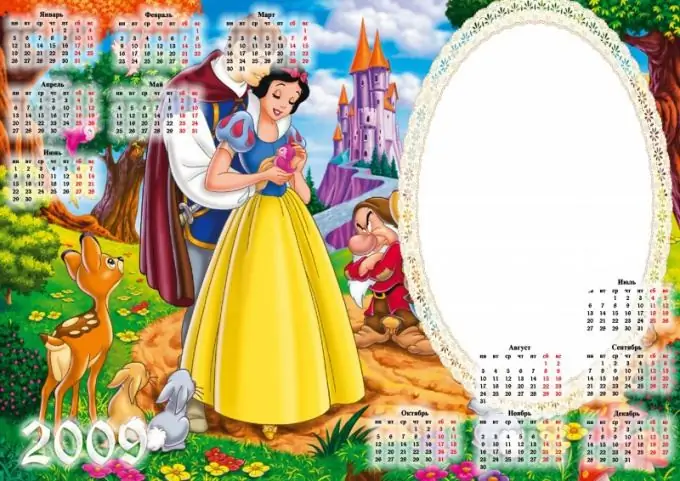
The most popular program for processing photos and various images is Adobe Photoshop. It is also often used to create various collages using ready-made templates. How to install a template in Adobe Photoshop, read on.

Instructions
Step 1
Decide what your template should be. Basically what is a Photoshop template? This is a ready-made image with a certain part cut out, where you can substitute any image or photo. Decide on the background. For the background, you can use some kind of photo. It is enough just, for example, to cut out the face of a person in the photo, and the template is ready.
Step 2
If you are planning to make a template for a collage, then look for a suitable picture on the Internet. If you are going to make a template for a vignette, then you will also need frames and various decorations, which you can also find on the Internet.
Step 3
Download a ready-made psd template from the Internet. Then, to use this template, simply drag it with the left mouse button from the folder where you saved it to the working area of the program. As a rule, these templates are made in A4 format. You can trim it if necessary.
Step 4
Save the template layer and name it Background. Then drag the frames that you downloaded from the Internet onto the working field of the program. Save them on a separate layer. The frames will contain the photos, so place them against the background in such a way that they look organic without overlapping each other.
Step 5
Cut out the background inside the frame so you can post the photo later. Apply effects to the template as desired. To do this, double-click the left mouse button on the selected layer. The effect menu appears. You can apply a drop shadow or gradient if needed. Once the template is ready, save it. To do this, on the toolbar, click on the "File" menu item, then "Save As".
Step 6
Give the template a name and file type psd. This is necessary so that you can correct it later. For example, apply different frames, or apply a different background with the same frames. You just need to open the saved file in photoshop and apply all the necessary changes, then save by clicking on the floppy disk icon on the toolbar.


