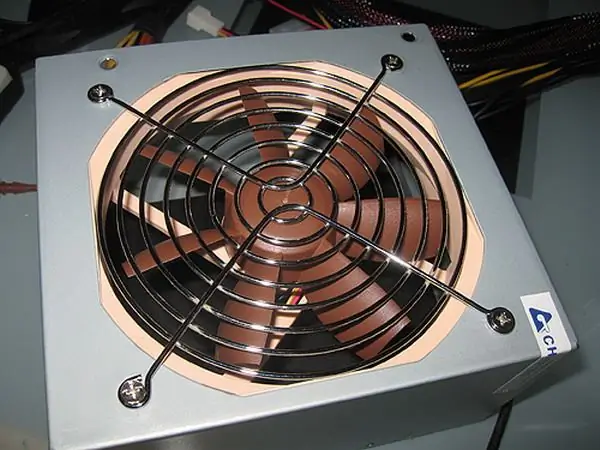
There are times when the fan stops spinning and cooling the power supply components. However, it is not at all necessary to buy a new power supply. The old fan will need to be replaced. By replacing the cooler of the power supply unit, you can significantly extend the life of the unit and save on purchasing a new one. Although replacing a cooler is not a very difficult procedure, this issue has its own nuances.

Necessary
Computer, cooler, screwdriver
Instructions
Step 1
First, you need to disconnect and remove the power supply from the computer by opening the cover of its case. Disconnect all power supply wires from the system unit components. Unscrew the retaining screws on the back of the computer and remove the PSU from the case.
Step 2
Now unscrew the screws on the case of the power supply itself and open its cover. Then you need to disconnect the wire that supplies voltage to the PSU cooler.
Step 3
There are two options here, depending on the power supply model. First option. The fan is attached to the board with a special plug. To disconnect the fan from the power supply, you just need to pull the wire towards you.
Step 4
If you do not see a special connector in the place where the fan is attached, then the wire is simply soldered into the board on the power supply. In such cases, you need to carefully cut the cooler wire at a point closer to the fan.
Step 5
Now unscrew the fan from the power supply cover. It is secured with four bolts. You need to choose a cooler of exactly the same size. This can be done without any problem at a computer hardware store.
Step 6
If you have a connection socket in your power supply (the one from which you removed the fan), just plug in a new one. If you cut the wires, then the new cooler needs to be soldered. To do this, cut the wires on the new cooler. Next, solder the wires that you cut in the PSU to the wires that you cut in the fan. After that, be sure to "insulate" the contacts.
Step 7
After the fan is connected, screw it onto the power supply cover. Close the PSU case and screw back the screws. Be careful not to pinch any wires. Install the power supply into the chassis. To test its operation, connect the wires to the motherboard and turn it on. If everything is done correctly, the power supply should work.


