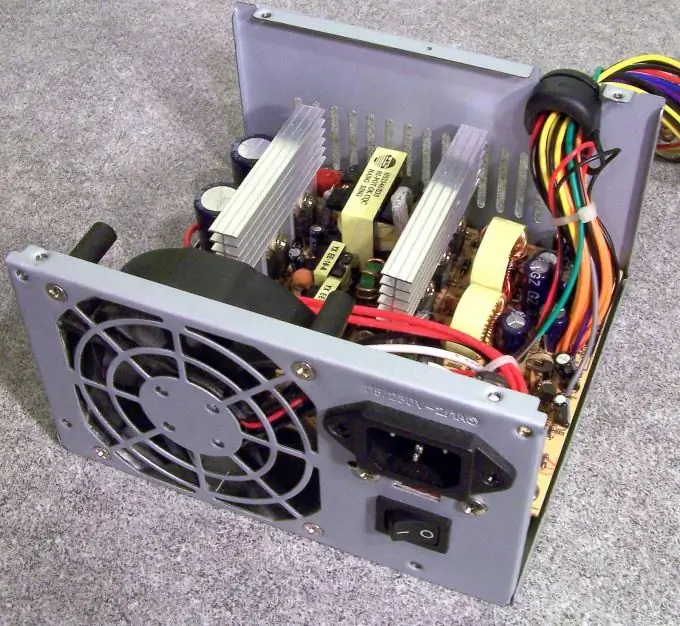
The fan in the power supply unit is used to blow the heat sinks of power transistors and stabilizers. There are at least two reasons why it may need to be replaced: insufficient cooling of the elements and increased noise during operation.

Instructions
Step 1
Unplug the computer and remove the side panel by removing the lifting screws. Disconnect the power supply connectors from the motherboard, hard drives, and other devices. Unscrew a few screws on the back of the system unit and pull the PSU out. Wait for the capacitors to discharge - two minutes.
Step 2
Remove the cover from the power supply housing by unscrewing the tightening screws. Disconnect the fan from the PSU case in the same way. If the fan is powered from the connector on the board, disconnect it. If there is no connector, cut off the power wires that go to the fan.
Step 3
Screw the new fan onto the PSU cover. Now you need to decide how to connect the fan to the power supply. If the power supply board does not have a corresponding connector, you can bring the wires from the fan outside, twisted with other wires, and connect them to the PWR_FAN connector on the motherboard. In this case, it is necessary to insulate the ends of the wires that you cut.
Step 4
If you don't find a suitable connector on the motherboard, cut the power wires of the new fan, strip them of insulation and tin with flux. In the same way, prepare the wires that go from the PSU board to the fan. Twist them together and solder in place of twisting, then wrap bare areas with electrical tape.
Step 5
Now you need to test the operation of the power supply and fan. On the connector that connects to the motherboard, jumper the pins of the green and black wires. Connect any load to the PSU and connect it to the mains. If the fan starts spinning, then you did everything right.
Step 6
Disconnect the power supply unit from the power supply. Install it into the case of the system unit and secure it to the rear panel with the lag screws. If you decide to power the fan from the motherboard, connect it to the appropriate connector. Then connect all the devices of the system unit to the PSU, replace the side panel and turn on the computer.


