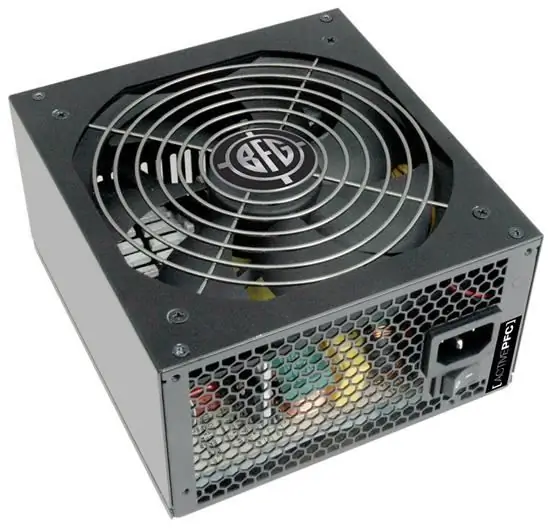
If one fine day from the system unit began to hear unpleasant buzzing, and its temperature became very high or the signs of the cooler's life disappeared altogether, then there is a need to change the fan. How to make a replacement so that inexperience does not complicate the malfunction and not endanger your life?

Instructions
Step 1
The first step is to turn off your computer and disconnect all cables. Use a Phillips screwdriver to gently run along the back and side of the system unit to discharge static electricity. Remove the side panel of the system unit. Then, disconnect the power supply connectors from other devices, and then carefully pull it out. Unscrew 4-5 screws securing the cover. Then wait about 2 minutes for the capacitors to discharge.
Step 2
Unfasten the cover from the power supply case. Now unscrew and pull out the fan. Next, you need to cut off the power wires from the cooler (in the case when there are no connectors on the board) or simply disconnect them (when powered from the connectors). Now you need to decide on how to connect the fan to the power supply. If the power supply board has suitable connectors, then the new cooler only needs to be connected.
Step 3
If there are no connectors on the power supply board, you can connect the wires from the fan to the motherboard PWR_FAN connector (then you should insulate the ends of the wires you cut off). If there is no suitable connector on the motherboard, then cut off the power wires from the new fan.
Step 4
After that, strip the insulation of the wires from the power supply, and then from the new fan. Then twist them: red to red and black to black. Next, wrap the exposed parts of the wires with tape or electrical tape so that they do not touch. Almost done, all that remains is to assemble all the components exactly the opposite and start the computer.


