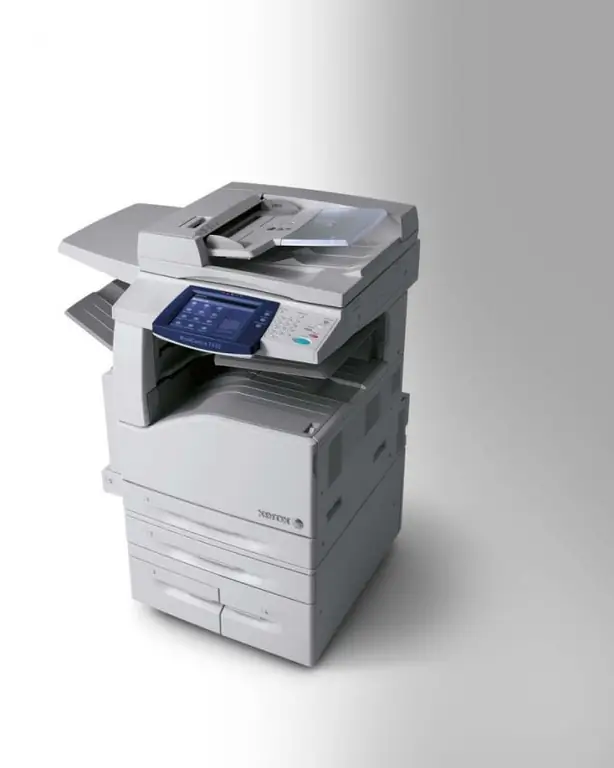
For the multifunction device to work properly, you need to install the correct drivers for it. You can do this yourself or use special utilities.

Necessary
Driver Pack Solution
Instructions
Step 1
Turn on your computer or laptop and connect the MFP to it. Modern multifunctional devices are connected to a computer via a USB port. Turn on the MFP. Wait while the operating system finds suitable files for it.
Step 2
If this does not happen, then open the DVD drive and insert the disc supplied with the MFP into it. Install the software stored on this disk. Restart your computer and check if the MFP is working.
Step 3
If you do not have such a disk, then open an Internet browser and go to the official website of the manufacturer of this multifunctional device model. Find the Drivers menu and open it. Find the right software using the search table on the website. Download the required program and install it. If you find not a utility, but a package of files, then open the "Device Manager" menu.
Step 4
Find the desired MFP in the list of devices and click on its name with the right mouse buttons. Select Update Drivers and select the Install from a list or specific location option. Select the folder where you saved the downloaded file bundle.
Step 5
If the above methods were not effective, then download the Driver Pack Solution utility. Run it and wait while the program collects information about devices connected to your computer. Open the "Drivers" menu and find a set of files for your multifunction device in the list that appears. Select it with a checkmark and click the "Install" button. Confirm the installation of the specified drivers.
Step 6
Restart your computer after the Driver Pack Solution utility has finished running. Check if the MFP is working. Remember that this device must be turned on for the drivers to be installed successfully. Be sure to test all the capabilities of the MFP. If you install the wrong drivers, some features may not work.


