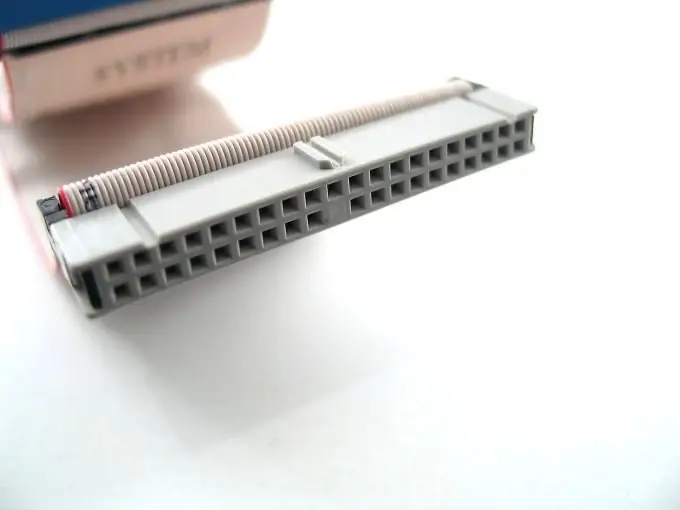
Loops in the computer system unit often bend and break. Naturally, this affects the performance of the devices that are connected to them. Moreover, before determining the malfunction of the loop itself, it is usually necessary to sort out a lot of variants of breakdowns of the corresponding devices and carry out more than a dozen diagnostics. The problem, of course, can be solved simply: it is necessary to change the loop.

Instructions
Step 1
Power off the computer and remove the side cover. You will get access to the insides of the system unit. Determine which of the devices are daisy-chained to the motherboard. Most often these are hard drives, floppy drives, and optical disc drives. Also, determine the type of ribbon cable interface that you need to purchase: IDE or SATA.
Step 2
Checking the loop health is a mandatory diagnostics that must be carried out in the presence of malfunctions in the operation of devices. If you have a computer manufactured more than 5 years ago, then most likely, the connecting cables of the devices have an IDE interface. Outwardly, they are wide multi-conductor cables. They, indeed, often fray, and thin wires in them can break. If you change the loop, the allegedly broken device will work in standard mode.
Step 3
Remember which device was unstable. Disconnect the power wires from it. Pull out the ribbon cable connector. Gently, holding the motherboard and not bending it, disconnect the second connector of the ribbon cable from the corresponding IDE or SATA socket.
Step 4
Changing an IDE cable is a little more difficult than changing a SATA cable. An IDE often has two devices connected, such as two hard drives or a hard drive and an optical drive. In this case, you also need to set the order of loading using jumpers - jumpers. SATA cables are connected separately to each device. After installing and connecting a new cable, turn on the computer and wait for the devices to be detected at boot. If it was successful and all the components are visible, you can assemble the computer.


