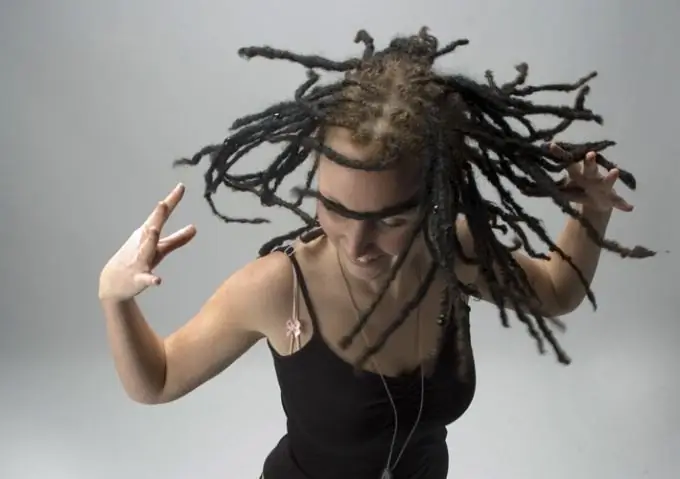
There are several ways to increase the length of the hair in the picture. This can be done by overlaying the finished image of the hairstyle on a transparent background or by painting the missing hair with brushes of a suitable shape and coloring them with a gradient map.

Necessary
- - Photoshop program;
- - Photo;
- - a file with an image of a hairstyle;
- - file with a hair brush.
Instructions
Step 1
Load the photo into Photoshop by pressing Ctrl + O. The choice of tools you need depends on the condition of the hairstyle in the photo. If the model in the photo has very short hair, it is faster and easier to completely change the hairstyle by overlaying the hair image on a transparent background. Find a suitable.
Step 2
Use the Place option of the File menu to insert a picture with a haircut over the image. Use the frame surrounding the image to resize the image to fit the dimensions of the model in the photo. Using the option Layer / "Layer" group Rasterize / "Rasterization" menu Layer / "Layers" switch the layer to the bitmap mode.
Step 3
You can correct the position of individual strands with the tools of the Liquify / "Plastic" filter, the window of which is opened by the menu option Filter / "Filter". To be able to see the hair layer and the background image, enable the Show Backdrop option in the Liquify options. From the Use list, select the Background item, in the Mode field, enable the Behind option. To clearly distinguish the processed layer, set the Opacity / "Opacity" parameter to the maximum value.
Step 4
To lengthen the hairstyle, you can use ready-made brushes with strands of hair. The necessary brushes, which are files with the abr extension, are easy to find on the same sites as a picture with a hairstyle. With the brushes palette open, expand its menu by clicking on the triangle-shaped button. Load the new brushes by choosing the Load Brushes option.
Step 5
Use the Shift + Ctrl + N combination to create a layer for the hair on top of the photo. With the Brush tool turned on, select a strand of hair from among the swatches in the Brush Tip Shape tab of the brush palette. After adjusting the size of the brush with the Diameter slider in the same tab, click on the new layer to get the brush tip.
Step 6
A brush file can contain more than one image. To paint strands of different shapes, add a few more layers and select another swatch of the same brush. Use the Free Transform option of the Edit menu to adjust the size of the drawn hair.
Step 7
You can make multiple copies of the layer with the same strand using Ctrl + J keys. Use the Move Tool to move the print to the desired location. To make copies of one section of hair not look the same, change the slant and size.
Step 8
Select all the strand layers and merge them with the Ctrl + E keys. To make the drawn hair do not differ in color from the hairstyle in the photo, paint it with a gradient card. To do this, apply the Gradient Map option from the Adjustments group of the Image menu to the merged layer. Click on the color bar that opens and adjust the transition from the darkest shade that can be found in the hair in the picture to the lightest. If your hairstyle has many distinct colors, insert their markers in the middle of the gradient by clicking below the custom bar.
Step 9
Use the Save As option of the File menu to save the resulting image to a file that has a different name from the original image.


