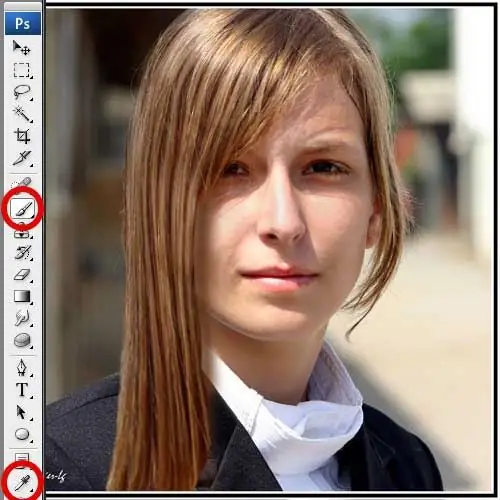
Hair is the most difficult to modify in graphic editors. However, with a simple method, in many cases it is possible to lengthen the hair in Adobe Photoshop.

It is necessary
Adobe photoshop
Instructions
Step 1
Open the image (Ctrl + O).
Step 2
Use the Lasso Tool (L) to select the section of the hair that you want to make longer. Then copy the selection (Ctrl + J). From the Edit menu, choose Free Transform. A thin frame with markers will appear around the fragment. Pull one of them and stretch your hair to the desired length. At the same time, slightly narrow the fragment - this will make the result more realistic.
Step 3
From the Edit menu, select Transform and then Warp. This time, a thin mesh with markers will be superimposed on the fragment. If you drag on the nodes of the grid, the fragment will be distorted. Deform the fragment as necessary, paying attention first of all to how realistic the result is. Under the influence of gravity, the hair should fall straight and freely. You can give them a little "wave". Press Enter to accept the changes.
Step 4
A very noticeable sharp transition is formed at the junction of the modified fragment and the original image. To get rid of it, grab a fairly large Eraser tool with soft edges and pressure and no more than 20 percent opacity. Work through the seam of layers with this tool until it becomes invisible.
Step 5
The last step is to add a shadow. If you don't, your hair will look unnatural. Create a layer below the current one. To do this, open the layers panel with the F7 key, select the very first layer with the mouse and press the combination - Ctrl + J. Then use the Eyedropper tool to paint the shadow color from the photo, and use a soft-edged brush with about 60 percent opacity to paint the hair shadow.


