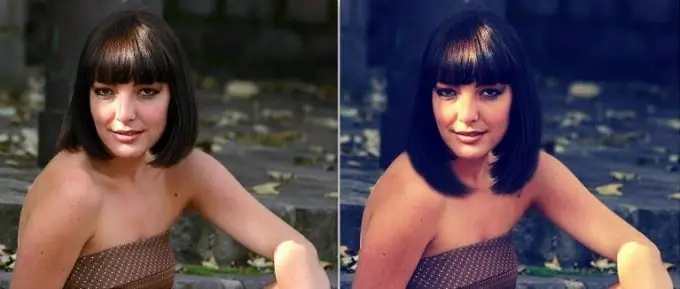
If you want to have long hair in your photo, you can "extend" it without any problems using Photoshop. With the help of an easy way to lengthen hair in Photoshop, you can also add volume to the hairstyle, as well as change other hairstyle details.
Instructions
Step 1
So, you have already decided on the photo in which you want to create the effect of long hair. Open it in Photoshop: "File" (File) - "Open" (Open).

Step 2
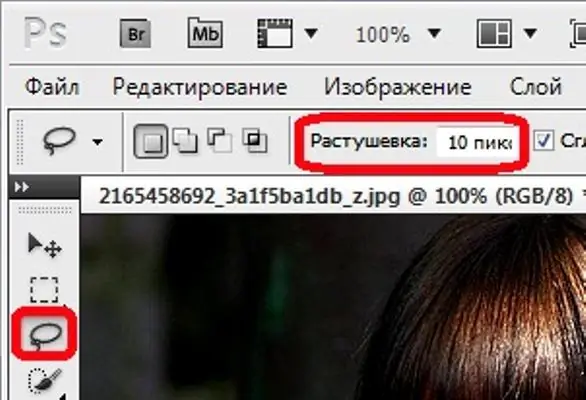
Select the Lasso Tool (L). Set the feathering within 9-12 pixels.
Step 3
Trace the part of the hair you want to lengthen with the Lasso Tool.

Step 4
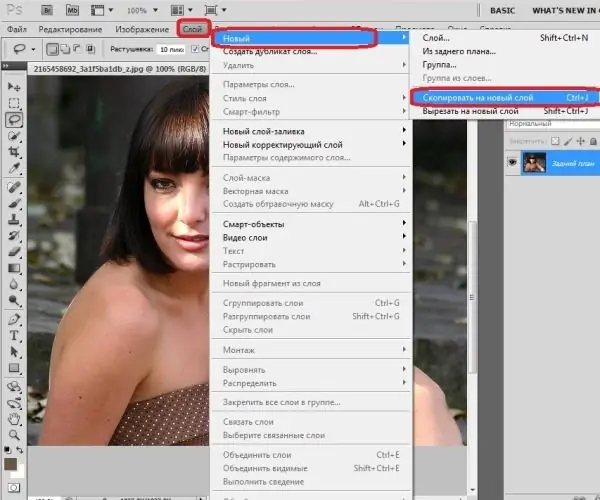
Copy the selected area to a new layer: menu "Layer" / Layer - item "New" / New - command "Copy to a new layer" / Layer via Copy (or using the keyboard shortcut Ctrl + J).
Step 5
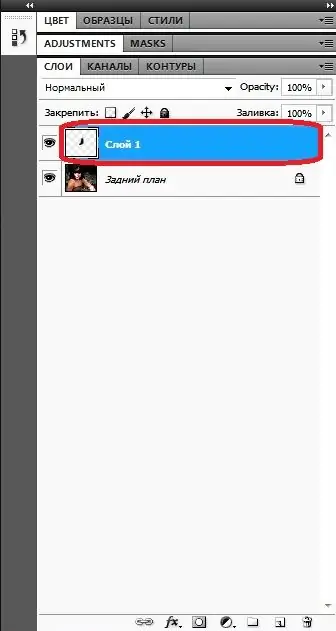
The new layer icon will appear in the "Layers" palette.
Step 6
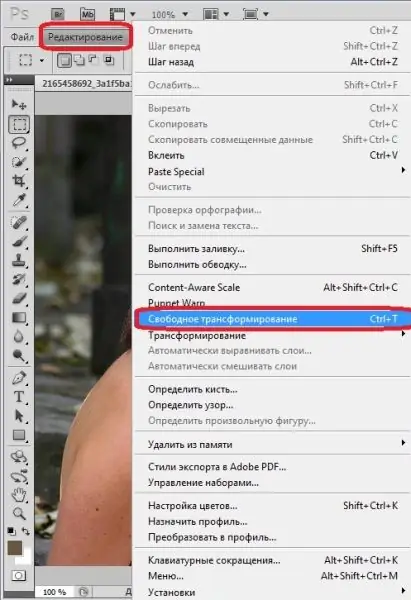
Click the menu item "Edit" / Edit - "Free Transform" / Free Transform (or the keyboard shortcut Ctrl + T).
Step 7
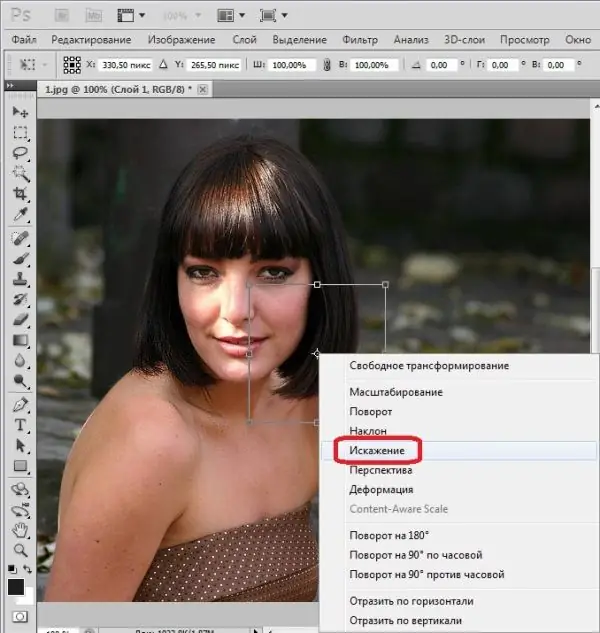
Now right-click inside the transform frame and select "Distort". (Although, if the hair is straight and even, you can do with one free transformation, without distortion).
Step 8
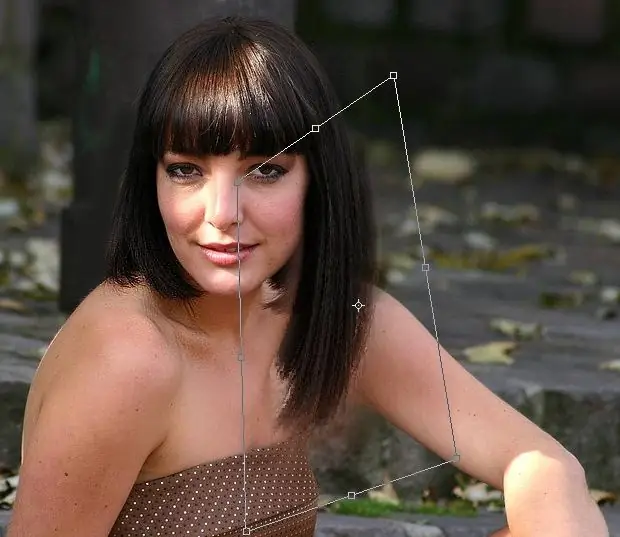
Extend your hair or modify your hairstyle by moving the squares on the transform frame.
Step 9
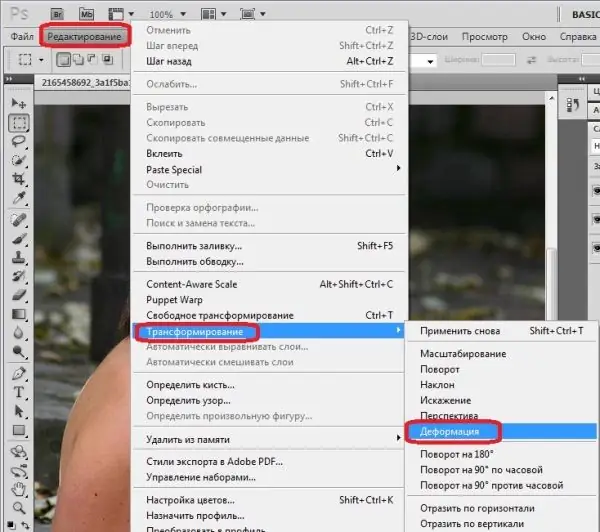
Do the same on the other side of the hair, selecting part of the hair and creating a new layer. For a change, you can apply the command "Edit" / Edit - "Transform" / Transform - "Warp" / Warp (or simply select the "Warp" item instead of the "Distort" command). This method allows you to more accurately adjust the hairstyle parameters.
Step 10
Hair can be modified by again moving the squares along the transformation grid.
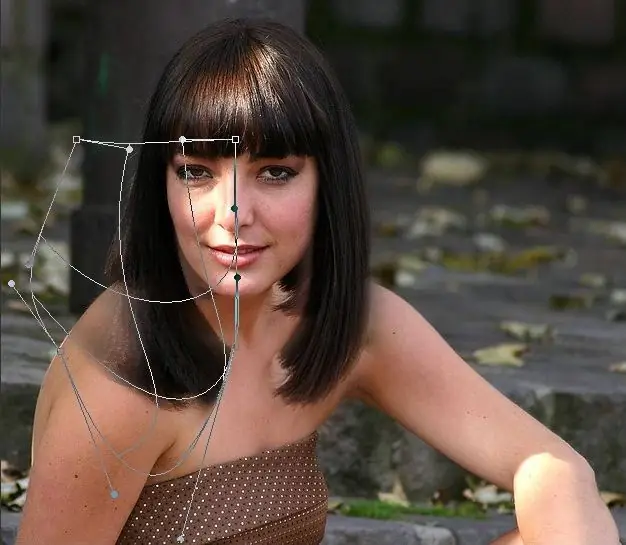
Step 11
The hairstyle is ready, but in the photo there is a defect in the light halo at the bottom of the hair. This unwanted effect came about as a result of the transformation when part of the background was used on the hair. This defect must be eliminated.
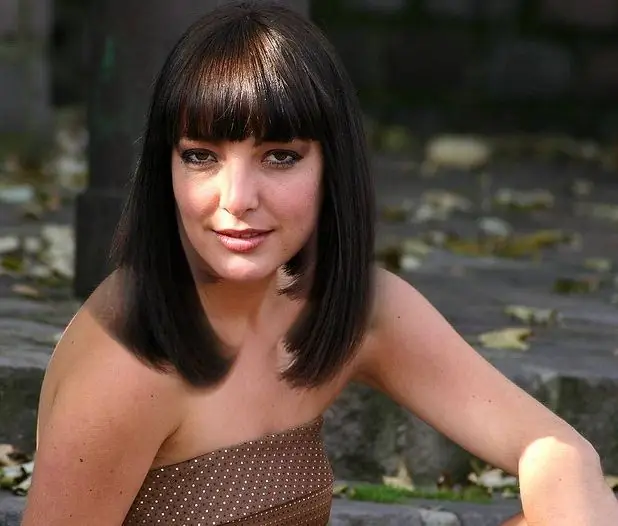
Step 12
Click on the third icon from the left in the Layers panel. A white layer will appear on the top layer. The image itself (photo) will not change.
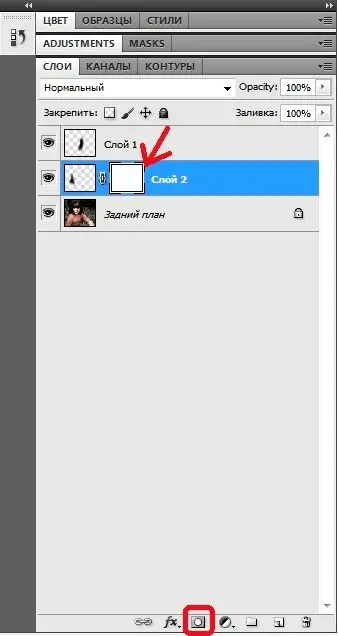
Step 13
Select the Brush Tool (B).
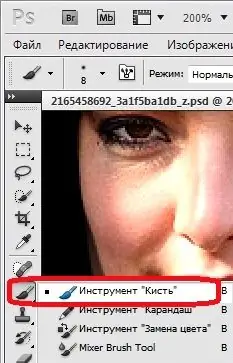
Step 14
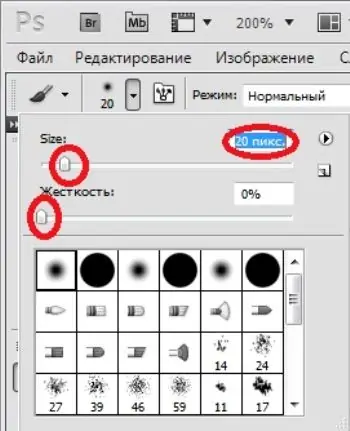
In the Brush tool menu (at the top of the screen, just below the main menu), set the hardness to zero, and also choose a brush size.
Step 15
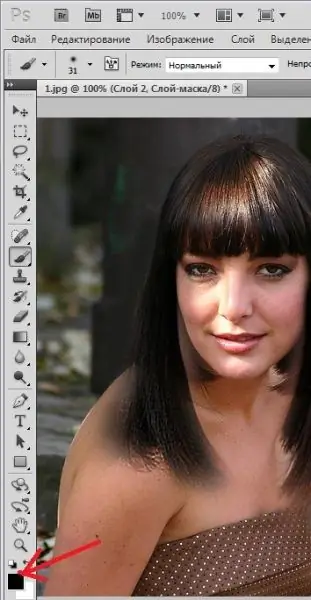
Also make sure to set the foreground color to black.
Step 16
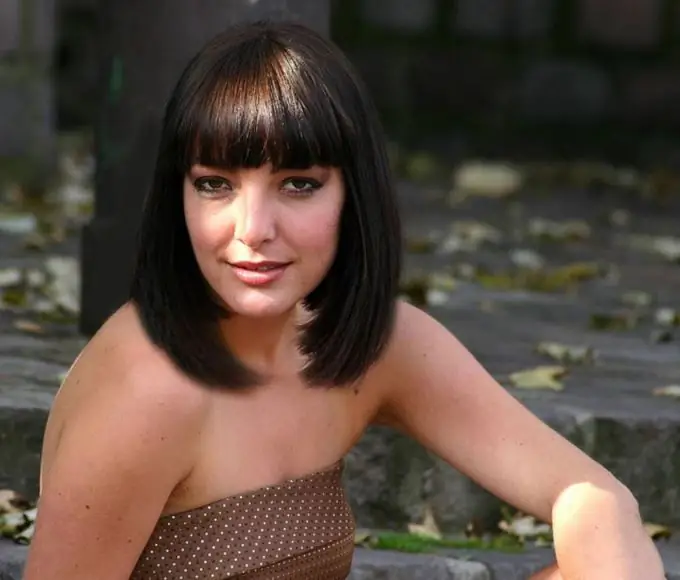
Then you need to circle the light halo with a brush and slightly touch up the resulting hairstyle. Now click with the "mouse" on the second layer to work in it, and do the same on the other side. Your new hairstyle is ready.
Step 17
In addition, you can apply some kind of special effect for the photo.


