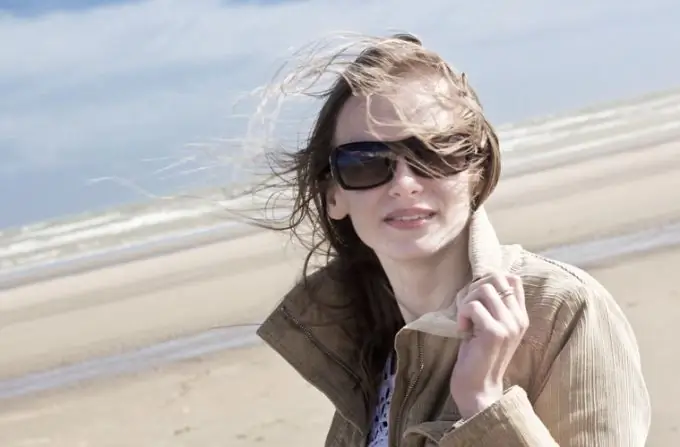
When processing photographs, it is often necessary to remove hair from the face. Thin strands that come out of the hairstyle can be masked with the Clone Stamp tool in Photoshop. For hair that is significantly different in color from the skin, the method used to remove stains is suitable.

It is necessary
- - Photoshop program;
- - the photo.
Instructions
Step 1
Using the Open option in Photoshop's File menu, open the snapshot you want to tidy up. Move the slider at the bottom of the Navigator panel to the right to zoom in on the area of the photo you intend to work with.
Step 2
Use the Shift + Ctrl + N keys to paste over the image a layer for retouching. With the Clone Stamp tool turned on, specify a fragment of the photo from which the program will copy the colored pixels needed to mask the hair. To do this, click on the appropriate area of the picture, located next to the strand that you want to remove from the face, while holding down the Alt key.
Step 3
Release the button and click on the hair to be removed. To make the result look neat, use a small diameter brush. By enabling the Sample all layers option in the Clone Stamp settings, you will be able to copy the background pixels while working on the layer above it.
Step 4
Working with the Clone Stamp takes patience and a fair amount of time. If you need to quickly cleanse short, dark hairs from skin with a well-defined texture, which is often necessary for processing male photographs, you can use the Dust & Scratches filter.
Step 5
Use Ctrl + J to add a copy of the snapshot to the file. Apply the Dust & Scratches filter to it, turning it on with the option from the Noise group of the Filter menu. Adjust the blur settings so that the hair in the photo is no longer visible.
Step 6
Use the Add layer mask button from the bottom panel of the layers palette to add a mask to the processed image. With the mask selected, invert it using the Ctrl + I keys. As a result, the blurred layer will completely disappear.
Step 7
Using the Brush tool ("Brush") paint the mask in white in those places from which you want to remove hair in the picture. To bring back some of the skin texture to the blurred fragments, place the top layer on the background in Lighten mode.
Step 8
Use the Save As option on the File menu to save your edited photo.


