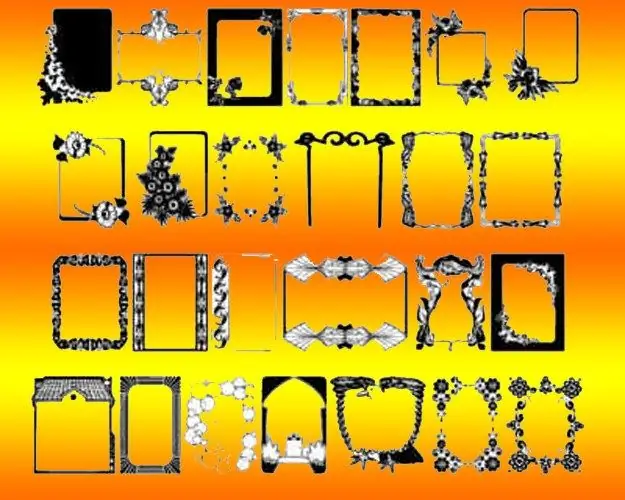
You can find a beautiful frame for a photo or picture, for example, on the Internet. To place one image into another, you need a specialized program - a graphics editor. Depending on which of the programs you will use, the details of the operation of inserting a picture into the frame may differ, but the basic actions and commands will still coincide.

Instructions
Step 1
Start a graphics editor and load the frame image into it. The dialog for opening an image file in almost all editors is invoked by pressing the ctrl + o keyboard shortcut.
Step 2
Load the picture to be framed in the same way. Select this entire image by pressing the ctrl + a keyboard shortcut - it also works in any editor. Copy the selection using the ctrl + c hotkeys and switch to the window with the frame image.
Step 3
Paste a picture from the clipboard using the ctrl + v keyboard shortcut. In the graphics editor Adobe Photoshop, a new layer will be created on top of the frame layer. If in the editor you are using, a new layer is not created automatically when inserting, then first do this using the appropriate command in the menu.
Step 4
Resize the picture so that it fits correctly into the frame. In Adobe Photoshop, this can be done using the Free Transform Tool - it is enabled by pressing the ctrl + t keyboard shortcut. To resize the picture proportionally, move the anchor points at its edges while holding down the shift key. You can move the image by dragging it with the left mouse button.
Step 5
Save the finished image with a frame in the desired graphic format. The save dialog can be invoked by pressing the ctrl + s keyboard shortcut.
Step 6
If you do not have a ready-made file with a frame image, then you can draw it using the same graphic editor, find it on the Internet, or use the style effect built into the editor. This effect allows you to create a simple frame even without drawing skills. To use it in Adobe Photoshop, double-click the image layer in the Layers panel and select Stroke from the Styles list.
Step 7
Set the "Position" field to "Inside", and in the "Size" field, set the width of the frame. In the "Stroke Type" drop-down list, choose how to fill the frame - with color, gradient, or pattern. Depending on your choice, the set of settings controls will change - use them to select the most appropriate frame design option and click OK.


