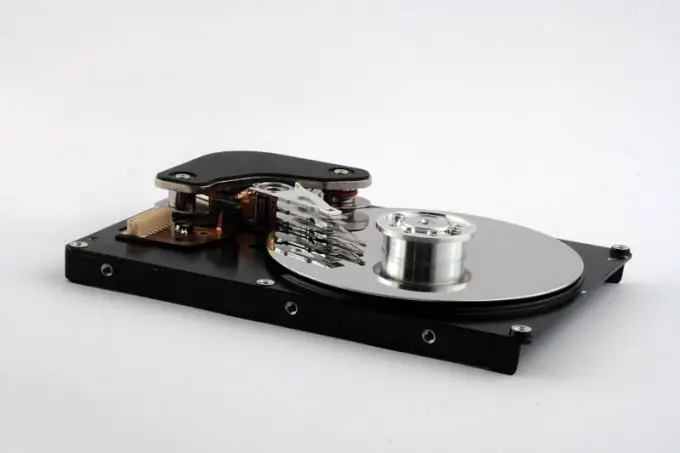
Practice shows: no matter how large a hard drive is installed in a home computer, it turns out to be full to capacity much earlier than the owner expects. After several months of periodic "cleanups" of the hard drive, which are becoming more and more brutal each time, there comes a moment when there is no longer any doubt that an additional hard drive is indispensable. After the new "living space" for your files is acquired, all that remains is to install an additional hard drive in your computer.

Necessary
Phillips screwdriver, four screws, signal cable
Instructions
Step 1
Make sure that the prepared signal cable matches the type of hard drive you are installing, if you purchased them separately - the previously used IDE cables do not fit modern SATA devices. Check if the connectors of the cable plug match the corresponding connector on the hard drive case.
Step 2
Unplug the power cord after shutting down the operating system and turning off the computer.
Step 3
Use a Phillips screwdriver to unscrew the two screws that secure the side panels of the system unit to the back of the chassis. Then slide them back a few centimeters and remove. The described operation may differ depending on the case model - in some cases the side panels are held in place by plastic clips, while in others, special-headed fixing screws are used, which can be easily unscrewed without a screwdriver.
Step 4
Select one of the free bays on the chassis of the system unit and carefully place the new hard drive into it so that the connectors on its case are on the side of the system board, and the holes for the fastening screws are aligned with the corresponding openings on the chassis. Be careful not to damage the connecting cables of other devices and microcircuits on the computer boards.
Step 5
Secure the hard drive to the chassis with four screws. Then plug one of the free connectors on the power rail into the four-prong power connector.
Step 6
Locate the new device connector on the system board. Unlike hard drives with IDE interface that are almost not used today, each modern SATA drive is connected with a separate cable. Connect the prepared signal cable to the corresponding connectors on the board and hard drive.
Step 7
Replace the side panels, plug in the power cord, and turn on the computer. No additional settings are required in the BIOS or in the host operating system if the SATA drives are properly installed.


