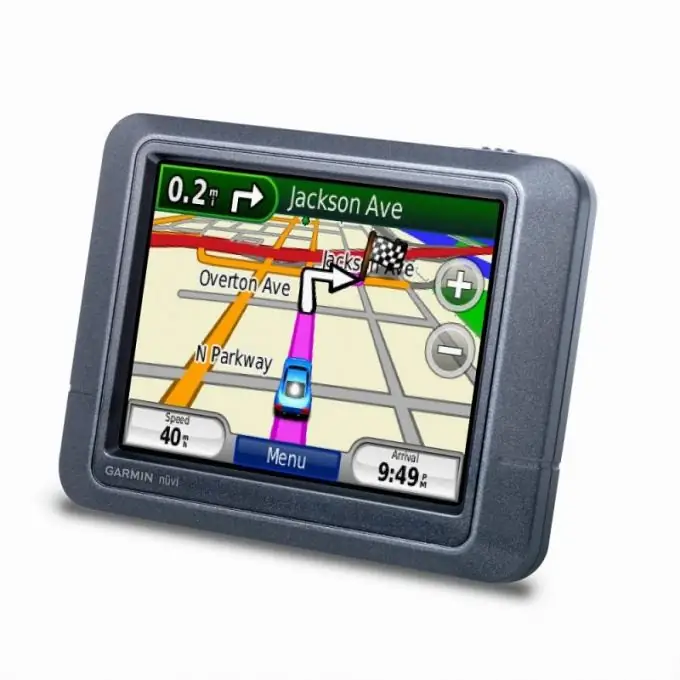
Garmin navigators are sold with a pre-installed set of maps. However, they may not always meet the requirements of the consumer, or certain territories may be absent from them. In this regard, it becomes necessary to install additional cards.

Instructions
Step 1
Go to the Garmin website at https://www.garmin.com/. Go to the map section and open the "Free update" item. Here you can download the MapChecker software, which is installed on your computer and is used to find and download new Garmin maps. After that, connect the navigator to your computer and install new additional maps on it using this application.
Step 2
Use MapSource, also available as a download from the Garmin website. It is designed to install additional maps that are freely available and are absolutely free. Download the program. Unpack the archive and run the msmain.msi file, then open the setup.exe file to install the application.
Step 3
Browse the internet for maps that you would like to install on your Garmin navigator. Download them to your computer and unzip them into a separate folder. Run the install file for each of the downloaded maps.
Step 4
Connect your navigator to your computer and start MapSource. Open the "System Tools" menu and go to "Manage Map Products". A list with downloaded additional maps will appear in the left part of the window.
Step 5
Select the one you want to place in the navigator. To do this, click on the rectangle icon on the program toolbar and on the highlighted map. Then click the "Install" button. Repeat this procedure with the rest of the additional cards.
Step 6
Download additional maps directly to your Garmin device in the Map folder. This can be done with the 1xxx version of the Nuvi device. Connect your navigator to your computer and open the corresponding folder. Download maps from the internet with the img extension. Rename them to gmapsupp.img, adding a number to the name. For example, new files will look like gmapsupp1.img, gmapsupp2.img, and so on. Restart your navigator and check if the maps are working properly.


