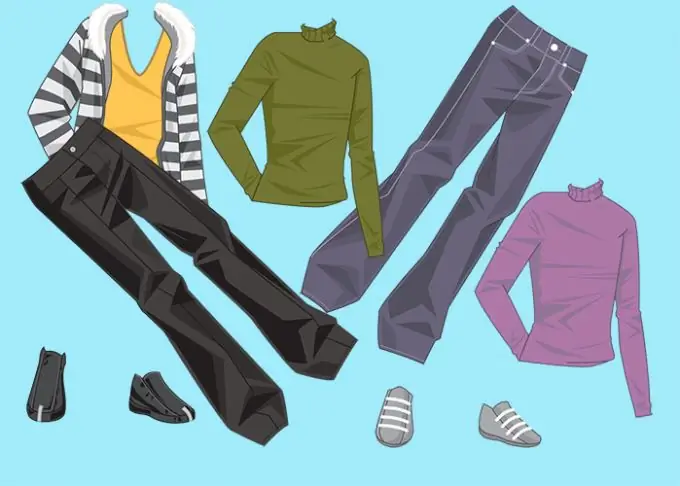
Dressing a person using Photoshop tools can take longer than changing clothes in reality. To dress up in a graphic editor, you will need to choose a suitable template and edit it using the transformation tools.

Necessary
- - Photoshop program;
- - Photo;
- - a template with clothes.
Instructions
Step 1
One of the secrets to successful dressing up with Photoshop is the compatibility of the original images. Choose a template that best suits the pose of the model in the picture.
Step 2
Using the keys Ctrl + O, load the photo and file with clothes into Photoshop. If you come across a.
Step 3
Go to the layer with the wardrobe item that you are going to overlay on the photo. Using the shortcut Ctrl + A, select all the contents of this layer and copy the selected piece of clothing with the keys Ctrl + C. Go to the window in which the picture is open and paste the copied picture over it. Apply the combination Ctrl + V for this.
Step 4
Use the Free Transform option of the Edit menu to resize the inserted image to the size of the figure in the photo. Using the same option, you can, if necessary, rotate the added picture. To move the contents of the layer, turn on the Move Tool. To fit the clothes to the figure, you can use the Warp option ("Distortion") of the Transform group ("Transformation") of the Edit menu.
Step 5
If there is an object in the photo that partially covers the person being disguised, you will need to restore the visibility of this object. To do this, temporarily turn off the clothing layer and select the object with the Lasso or Polygonal Lasso tool. Copy the selection onto a separate layer and move it to the top in the layers palette. Turn on the visibility of your wardrobe to see the results.
Step 6
It may be that the object you had to restore visibility was casting a shadow over the shape. To restore this shadow on the new clothes, copy the object layer and make it dark. Apply the Hue / Saturation option in the Adjustments group of the Image menu. To darken the layer, move the Lightness slider to the left.
Step 7
Slightly blur the preset for the shadow with the Gaussian Blur filter, the Blur group, the Filter menu, move it under the color layer with the subject and move it relative to it in the direction in which the shadow was shifted in the original picture. Adjusting the Opacity parameter ("Opacity"), make the shadow transparent.
Step 8
Save the resulting image to a file with a different name from the original photo using the Save As option on the File menu.


