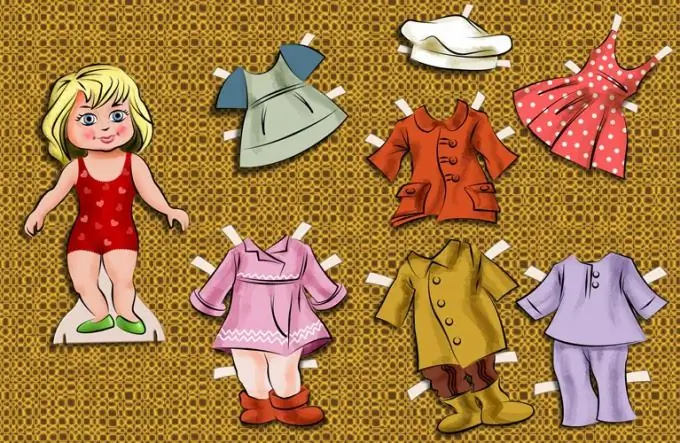
You can change the clothes in the picture using the graphics editor Photoshop using templates that are easy to find on the Internet resources dedicated to graphic design. However, if the shape of the template and the pose of the model do not match, additional refinement of the picture may be required using transformation tools.

Necessary
- - Photoshop program;
- - Photo;
- - a template with clothes.
Instructions
Step 1
Using the Open option of the File menu, load the template with clothes and a snapshot into the graphic editor. Each image will open in its own window. If you have a layered psd file with not only new clothes, but also the background, the only thing you need to do is insert the face from the photo into the template.
Step 2
Select part of the photo with the face using the Rectangular Marquee ("Rectangular selection") or Polygonal Lasso ("Polygonal lasso"). Using the Copy option on the Edit menu, place the selected area of the picture on the clipboard. Paste it into the template using the Paste option from the same menu. Using the options group Arrange ("Installation") menu Layer ("Layer"), place the layer with the face under the layer with the clothes.
Step 3
Use the Reveal All option in the Layer Mask group of the Layer menu to create a mask on the face layer. With its help, you will be able to hide the fragments of the original background that got into the picture along with the model's head. To do this, paint over the mask with black in those places where the pieces of the original background are preserved, using the Brush tool ("Brush").
Step 4
The dimensions of the template may not correspond to the dimensions of the face inserted into it. To fix this, adjust the size of the clothing with the background or face using the Free Transform option on the Edit menu. In order to equally change the size of the image on all layers that make up the template, select them while holding down the Ctrl key.
Step 5
If, using a psd template with a background for replacing your clothes, you want to keep the original background of the photo, insert the entire photo under the layer with clothes and resize it to fit the dimensions of the template. With the help of the Move Tool ("Move") move the photo so that the head of the model is aligned with the clothes. Use the Crop tool ("Crop") to crop the template in those places that do not overlap with the background of the photo.
Step 6
To change the clothes in the picture, you can use the template in.
Step 7
It may turn out that the position of the sleeves of the clothes does not coincide with the position of the hands of the model in the picture. This problem can be solved in several ways: adjust the position of the sleeves to the position of the hands using the Warp option ("Warp") of the Transform group ("Transformation") of the Edit menu ("Editing") or copy the arms to a new layer and transform them with the same option so that they naturally matched with clothing. The original pair of hands, left in the picture, will have to be covered with fragments of the background using the Clone Stamp tool ("Stamp").
Step 8
Use the Hue / Saturation or Color Balance option in the Adjustments group of the Image menu to adjust the brightness and color gamut of the clothing if necessary, making it closer to the color scale of the photo.
Step 9
Save the resulting image in.jpg"


