It is impossible to imagine the work of an office worker without using a printer. We can say that the printer is his second working tool. Most printers require a driver disc in the CD / DVD drive when installed. If you needed to install a printer, but there was no such disk, then you can use the standard set of operating system drivers.
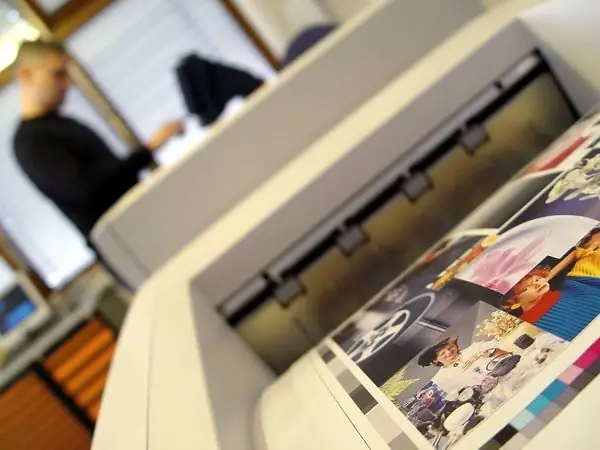
It is necessary
Computer (laptop), printer, usb cable
Instructions
Step 1
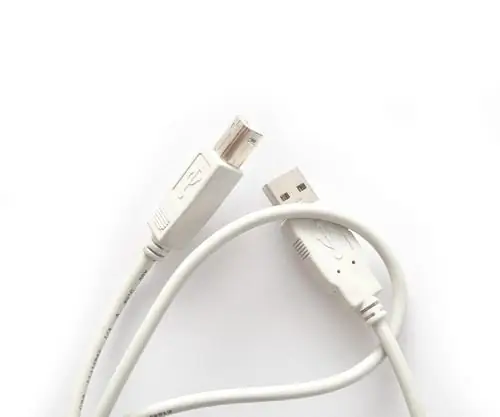
Connect your computer to the network. Connect your printer to your computer using a USB cable. Then turn on the computer as well as the printer.
Step 2
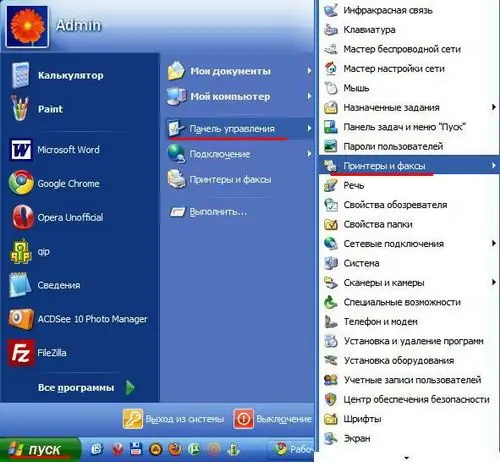
Click "Start" - select "Control Panel" - "Printers and Faxes". A window of the same name will appear in front of you.
Step 3
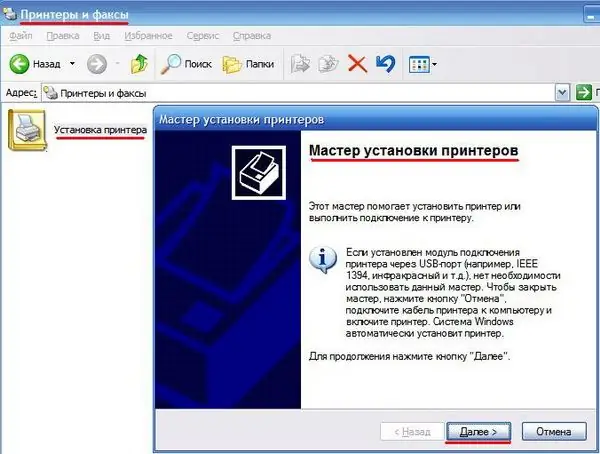
Double-click the shortcut to open Add Printer. The "Add Printer Wizard" will start, click on the "Next" button.
Step 4
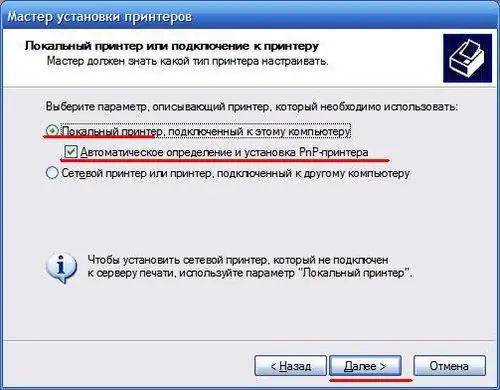
Check the Add Printer Automatically box on the Add Printer Wizard page. Click "Next".
Step 5
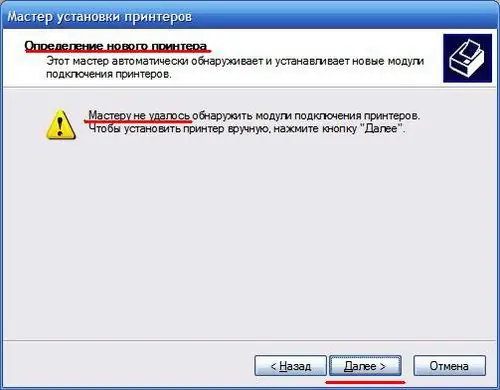
When your system automatically finds the printer, you will see the installation of the printer continue. If this does not happen, then you will see a window with a warning of the following content: "could not find the printer connection modules." In this case, you will have to install the printer yourself. Click "Next".
Step 6
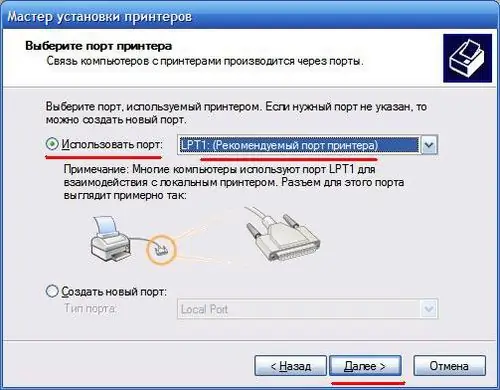
Select the required printer port. As a rule, you should choose the default port. Click "Next".
Step 7
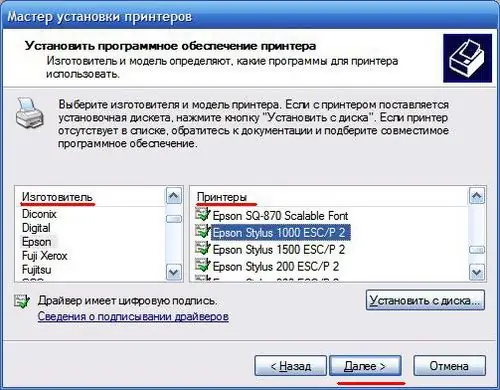
In this window, select the manufacturer and model of your printer. Click "Next".
Step 8
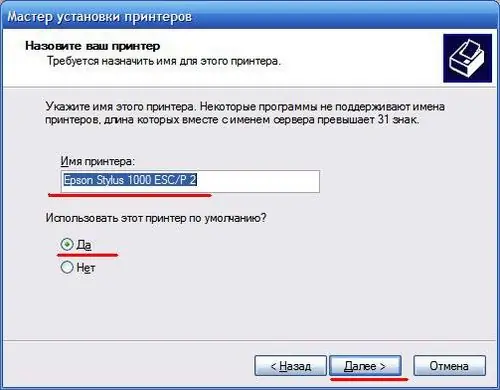
Enter a name for the printer so that it can be distinguished from other devices. And also, if you are prompted to set the printer value, check the "default printer" item. Click "Next".
Step 9
To summarize the steps taken, as well as for the sake of securing, you can print a test page on your printer. This is done to ensure that the printer is working properly.


