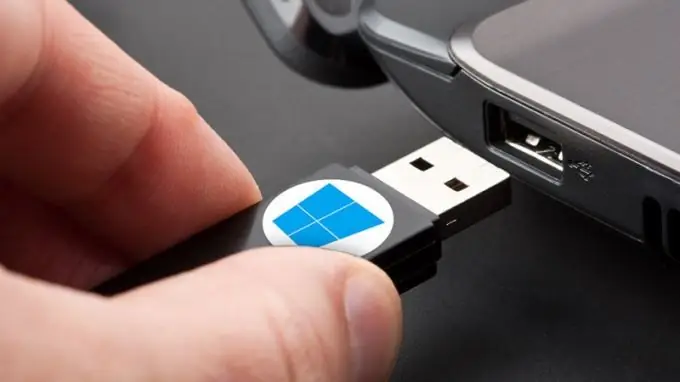
The Windows 7 operating system is one of the most successful and functional systems released by Microsoft. It can be installed in two ways: by means of a data carrier on a CD or using a USB flash drive.

Preparing the media
To install Windows 7 on computers that do not support work with a floppy drive (for example, netbooks), you can use a USB flash drive, the volume of which must exceed 4 GB to fully accommodate all the distribution files necessary for the correct installation and subsequent operation of the system.
Before installing Windows 7, you will need to download an operating system image. This can be done both on the official Microsoft mirror and on third-party resources. After downloading the image, you will need to install a program that will format the USB flash drive into the desired format and record all files in the image. Among the most convenient programs for recording Windows 7 is the Windows 7 USB / DVD Download Tool. The program is available on the official Microsoft website and allows you to record a licensed image to removable media.
Flash drive recording
Install the USB stick into the device and run Windows 7 USB / DVD Download Tool. You will see a simple program interface through which the already downloaded image is recorded. Click on the "Browse" button and specify the path to the ISO file of the system image that you downloaded earlier. Once selected, click "Open".
After specifying the path to the image, click on the Next button to proceed to burning the image to removable media. In the next menu, select the USB Device item. In the list provided, select the name of your flash drive, and then click Begin copying. Next, click Erase USB Device, and then confirm the completion of the information. After that, the image will start to be written to the USB flash drive, the process of which you can follow in the main window of the program. After the recording status line is 100% full, you will see a Backup Completed message. The image capture is complete and you can start installing the system.
Actions after recording
Before reinstalling the system, please save all important files on a separate medium, as the installation process may delete documents. After that, go to the BIOS of the computer by pressing the Start Setup key (F2 or F4) when the computer boots. Go to the Boot section and select the name of your flash drive as the First Boot Device. Save your changes and restart your computer. If the image was recorded correctly and the BIOS settings were specified correctly, the installation and initial configuration of the operating system will begin.


