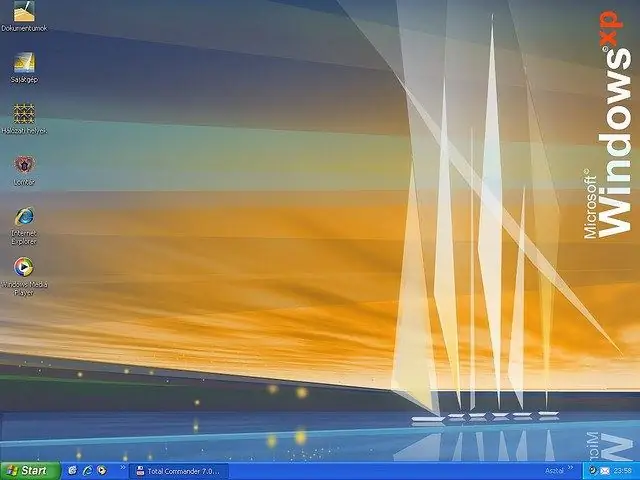
After starting and loading the operating system, the user sees a desktop on the computer screen. The convenience of work largely depends on how correctly it is configured. Not the last place is occupied by the design of the desktop - it should be pleasing to the eye, evoke a feeling of coziness and comfort.

Instructions
Step 1
The main purpose of the desktop is to provide quick access to the most frequently used programs and documents; for this, their shortcuts are placed on it. Please note that it is the shortcuts that need to be placed, but not the programs and documents themselves. To prevent an accidental system crash from causing the loss of important data, you must have multiple disks or logical partitions on your computer. Place the operating system on drive C, store data on other drives.
Step 2
Place shortcuts on your desktop for those programs and documents that you frequently use. To do this, open the folder with the document or the executable file of the program, right-click on the file and drag it to the desktop. Release the button, a menu will appear. Select the "Create shortcuts" option in it. Drag the ready shortcut to the desired place on the desktop and, if necessary, rename. Likewise, you can make shortcuts to folders, which will speed up access to the files located in them.
Step 3
Place shortcuts for all drives on your desktop for quick and easy access. To do this, open: "Start" - "My Computer", in the window that opens, select the desired disk and right-click on it. Select the "Create shortcut" item in the context menu, the system will offer to place it on the desktop. Agree by clicking OK. Place the shortcut where you want it on your desktop. Do the same with other discs.
Step 4
Group all shortcuts on the desktop by their type or frequency of use. Try not to clutter up the desktop with a large number of shortcuts, if necessary, place them in separate folders. A neat and logical arrangement of shortcuts will make it easier for you to launch the programs you need.
Step 5
Choose the theme that suits you best. In the Windows XP operating system, open: "Start" - "Control Panel" - "Display", select the "Themes" tab. After setting the desired theme, change the default background image in the "Desktop" tab. Select the desired image from the list or enter your own. If you are working in Windows 7, then to change the image and theme, click on an empty area of the desktop with the right mouse button and select "Personalization" from the context menu.
Step 6
In Windows 7, you can put a variety of gadgets on your desktop - for example, an analog or digital clock, a calendar, a CPU load indicator, etc. etc. In Windows XP, you can also work with gadgets, but for this you need to install a special program - Sidebar. Enter this name in a search engine, and you will see many links to download the program.


