The Microsoft Word text editor is truly versatile. In it, you can create both standard text documents - reports, abstracts, term papers and theses, books, monographs, magazines, and the most non-standard ones, such as flyers, business cards, booklets, leaflets, certificates and letters of thanks. It is for the last mentioned category that the knowledge of how to make a beautiful frame in Word is most relevant.

It is necessary
Toolbar
Instructions
Step 1
Start Word. When the editor opens, go to the toolbar. It is usually located at the bottom of the work area and consists of small square buttons. In order to make a frame, you need to go to the "Autoshapes" section.
Step 2
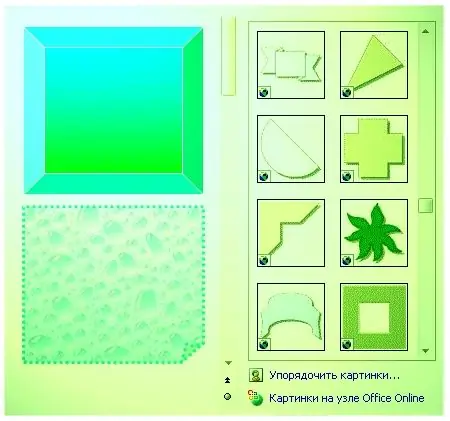
In the list that appears, you will see various drawing and decorating tools for Word documents. The most interesting elements for creating and designing a frame are found in the "Basic Shapes", "Flowchart", "Stars and Ribbons" blocks, as well as in the "Other AutoShapes" folder. Decide what your future frame will consist of.
Step 3
Left-click on the selected shape, picture or ready-made frame. Drag it to the work area. Then organize and stretch the border to fit the length and width of the page. Next, you need to decorate it. To do this, use special commands from the toolbar, such as Fill Color, Line Color, Line Type, Stroke Menu, Shadow Menu, Volume Menu, and other options.
Step 4
As a result, you will get an original beautiful frame, like on a real letter or diploma. It can consist of bright fill colors and graceful patterned lines, be slightly voluminous, or have a multi-colored shadow. Now everything depends only on the wealth of your imagination.


