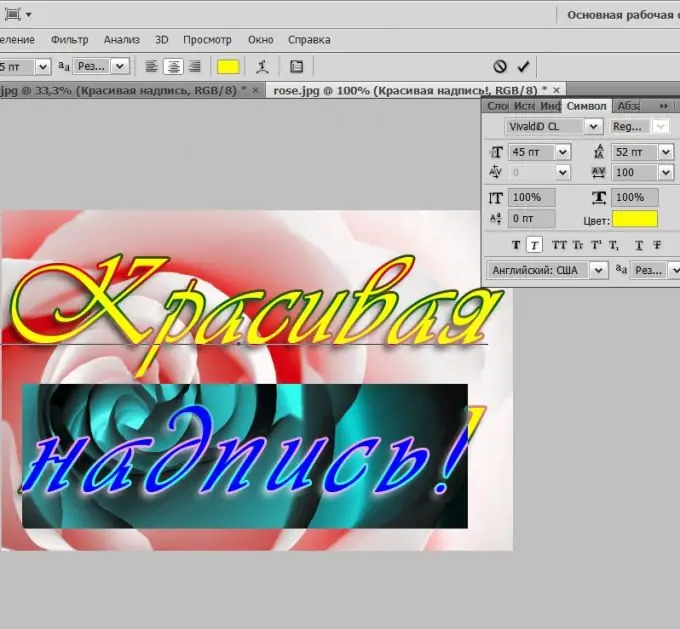
The graphics editor Adobe Photoshop provides a lot of tools that allow you to make a highly artistic masterpiece from any lettering. However, for this you need to have a sufficiently high level of proficiency in these tools. And if your goal is to get a quick result (beautiful lettering), then you can do without complex special effects and image manipulations. It's easier to use ready-made beautiful fonts, adding a few basic effects to them.

It is necessary
Graphic editor Adobe Photoshop
Instructions
Step 1
Create a new document by pressing the CTRL + N keyboard shortcut. If you want to put a beautiful caption on any image, then instead of creating a new document, load the original image. The file open dialog is launched by pressing the CTRL + O combination.
Step 2
Press the D button on your keyboard - this will set the default colors (white background, black text). Now you do not need to select the color of the future inscription, as long as it is enough for it to be visible against the general background. After that activate the "Horizontal Type" tool. The easiest way to do this is by pressing the key with the Russian letter E (Latin T). Then click the background image with the mouse and type the text for the label. Do not forget that it can be multi-line if you use Enter to move the cursor to the next line.
Step 3
Click with the mouse on the tool palette the very first icon - "Move". This will turn off the text editing mode. After that, open the "Window" section of the menu and select the "Symbol" line. This will open the window for managing the parameters of the inscription made. Select the text and background from the drop-down list, and select the size of the letters in the field below it. The list of fonts can be replenished by finding beautiful samples on the Internet and installing them in a computer in the usual way.
Here you can make the letters of the inscription more compressed or elongated, change the spacing between letters or lines, make letters crossed out or underlined, etc. Each such operation can be applied not to the entire text, but to any letter or part of the inscription, if, before changing the corresponding setting, select the desired part of the text or word. You can change the color of the label by clicking the black rectangle labeled Color.
Step 4
Open the blending options by double-clicking the text layer. After you finish formatting the label, you can apply some basic effects to it. There are, for example, glow, shadow, bump, etc. Here you have a wide field for experimenting with the effect settings - change them, watching how it is reflected in the picture. For example, in the image in the title of the article, the text has a drop shadow and a mirrored gradient stroke.
Step 5
Adjust the position of the finished lettering on the background image by moving it with the mouse.
Step 6
Save your work in Photoshop format if you want to edit it later. To do this, press CTRL + S, specify the file name and storage location, and click the Save button. And to save on your computer, Internet, etc., press alt="Image" + SHIFT + CTRL + S, select the desired file type and set the optimal quality settings. Then click "Save", enter a name for the file, select a storage location and click "Save" again.


