When processing photographs, it may become necessary to crop out unnecessary details, blurry or overexposed edges. There are several ways to do this in the graphics editor Adobe Photoshop.

Instructions
Step 1
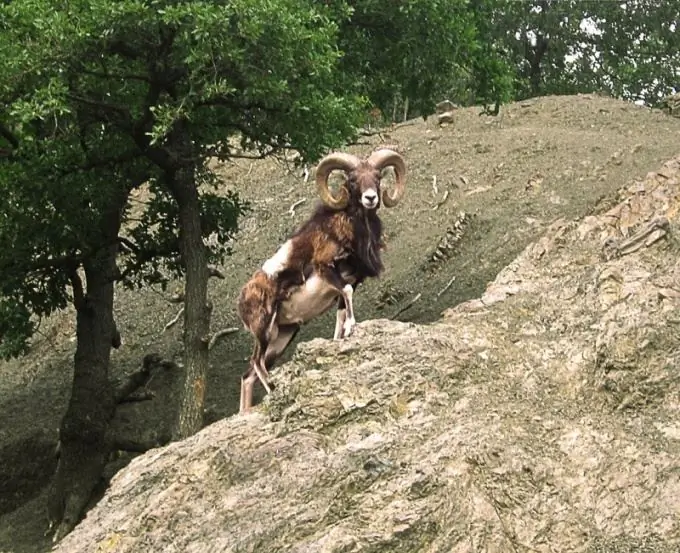
On the toolbar, check Rectangular Selection and select the part of the photo you want to keep. Select the Crop command from the Image menu. The part of the image that remains outside the selection will be removed. In this photo, the fence in the upper right part turned out to be superfluous.
Step 2
You can create selections in photo paper format. Activate the Rectangular Selection tool and on the Properties panel in the Style box, select Fixed Aspect Ratio from the list. Enter the desired values in the Width and Height boxes.
Step 3
The selection frame will stretch by the amount you specified in the property bar. You can move the frame around the photo to select the most suitable fragment. After that apply the Crop command from the Image menu.
Step 4
The next command on this menu Trim trims the margins. In the dialog box, specify what exactly should be considered as margins: Transparent Pixels, Top left pixel color or Bottom right pixel color.
Step 5
In the Trim away section, check the boxes along which the tool will crop the photo: Top, Bottom, Right, Left. If the image has no borders (transparent pixels or similarly colored areas), the tool will not crop the photo.
Step 6
On the toolbar, select the Crop Tool ("Frame") and select a fragment in the photo. The image outside the frame will darken. You can remove the shaded part or hide it. To do this, on the property bar, set the Cropped Area switch to Delete or Hide. To be able to recover the hidden area, save the image in *.psd or *.tiff format
Step 7
With this tool, you can correct perspective distortions in the image. Put the flag in the Perspective checkbox, move the cursor to the corner control knot and move the mouse so that the image rotates around its axis. With the help of the lateral control knots, you can change the size of the selected area.


