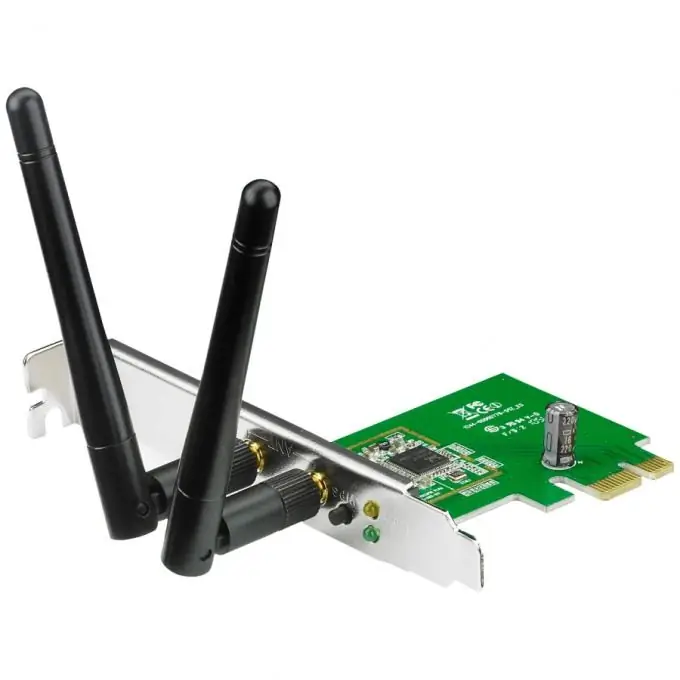
There are several methods you can use to create your own Wi-Fi network at home. The cheapest and most rational of them is to connect and configure a suitable Wi-Fi adapter.

It is necessary
Wi-Fi adapter
Instructions
Step 1
Select a Wi-Fi adapter that supports wireless access point mode. Read the instructions for the device before purchasing it. Make sure it supports Soft + AP mode.
Step 2
Connect the purchased Wi-Fi adapter to the USB or PCI slot of the motherboard. Turn on your computer. Install the software for this Wi-Fi adapter. In this case, it will be the ASUS WLAN utility. Restart your PC to apply the device settings.
Step 3
Create and configure an internet connection. Make sure it is active. Naturally, this item provides for the presence of a cable connection to the Internet at the computer in which the Wi-Fi adapter is installed.
Step 4
Run the installed program. Select the Config menu. Now open the SoftAP tab to configure the adapter in AP mode. Activate the Soft AP Mode item by checking the box next to the corresponding inscription.
Step 5
Now, in the Internet field, check the box next to Enable ICS. At the bottom of the screen, find the name of your internet connection. Move it with the cursor to the Internet field. Click the Apply button to save the settings for this menu.
Step 6
Now open the WPS menu. Click the Status tab. Make sure your wireless access point is active. Go to the Access Control tab. In this menu, you need to set the values of the MAC addresses of the network adapters that can access your access point. Turn on the laptop and press the Win and R keys. In the window that opens, enter the cmd command.
Step 7
Now in the new menu, type ipconfig / all and press the Enter key. Find and write down the value for the MAC address of the wireless adapter. Now enter this value in the Access Control List field. Set the Accept parameter for this MAC address.
Step 8
Follow the same procedure to allow other devices to access your Wi-Fi network. Click the Apply button to save the changes.


