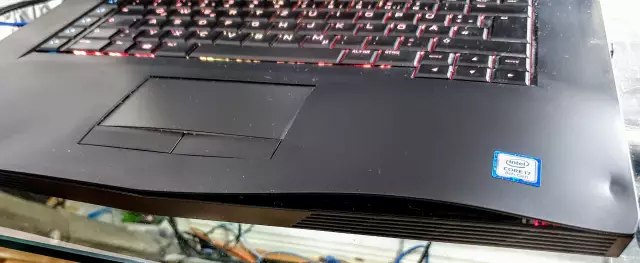
The lid of a laptop is a weak point of a laptop. It may burst due to constant opening and closing or jn accidental impact. And it seems too early to change the laptop to a new one, because it is still a worker. How to be? Fortunately, you can repair the laptop cover yourself.

It is necessary
- - sealant;
- - cardboard;
- - scissors;
- - drill;
- - nozzles for polishing;
- - scotch tape;
- - grinding paste;
- - foam rubber.
Instructions
Step 1
Cut out a few small pieces of cardboard (you will need them to cover the laptop keyboard) and cover the keyboard with them. The lid must be spliced closed: this will prevent it from shifting to the side.
Step 2
It is best to use a dielectric sealant to glue the laptop lid: it expands moderately as it dries. Otherwise, the sealant, drying out, will greatly push apart the halves of the cover being repaired, which may cause the matrix to break.
Step 3
Close the laptop and, lifting one side of the crack slightly, carefully rub the area with silicone. Then fix the cover: it should be level as before it was damaged. Then fill the crack in the lid with silicone.
Step 4
Allow the sealant to cure and then remove any residue from the lid surface. The edges of the crack can be sanded. But before you start polishing the surface, cover the logo with a strip of tape.
Step 5
Apply some sanding paste to the surface of the laptop (you will need the same amount of paste as you would normally apply thermal paste to a CPU cooler). Next, start sanding the surface (start at low speed and gradually increase to maximum). While sanding, take a break from time to time to check if there are still very visible scratches on the laptop lid.
Step 6
To remove dust from surface polishing, wipe the laptop cover with foam rubber. Then peel off the tape. The renovation work has been completed.


