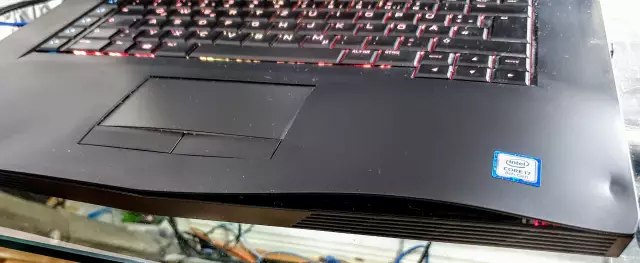
Almost everyone owns a laptop. This is a very handy gadget. With it, you can relax, work and find out the latest news. Those who use a laptop very often know that the keyboard can fail very often. If your laptop has run out of warranty, then a considerable amount of money can be charged for repairs. However, you can save money and repair the keyboard yourself.

Necessary
Screwdriver set, conductive paint, compressed air can, hook
Instructions
Step 1
First of all, you need to understand the approximate breakdown of your keyboard. More often than not, keys start to stick or not work. Typically, liquid spills on the keyboard are the cause of such breakdowns. The buttons cease to be pressed smoothly, that is, the key stroke mechanism is broken. Also, the electronic tracks along which the signal travels may burn out. It is necessary to dismantle the keyboard. Read the instruction manual for your laptop carefully. In it you will find a detailed diagram of the structure of the device and will be able to understand how exactly it is best to remove the keyboard. Usually, this requires removing the strip on the front part, unscrewing a few screws. However, you need to take the keyboard out of the recesses very carefully, since it is connected to the laptop with a ribbon cable from the back. To disconnect the ribbon, press down on the fasteners and gently pull out the end.
Step 2
Examine the keyboard carefully. Make sure the damage can be repaired. If you see a large crack on the keyboard strip, only buying a new keyboard will help. Now remove all keys. To do this, you need to use a crochet hook. With them, pry the key from the bottom and gently pull up. The key should detach with a distinctive click. Under the key you will see an elevator. This is a plastic mount that provides mechanical key travel. In this way, it is necessary to dismantle absolutely all the keys, not forgetting to disconnect the elevators.
Step 3
After removing all keys and elevators from the keyboard canvas, it is necessary to separate the top layer on which the tracks are applied. A signal goes along them when each key is pressed. Thoroughly rinse the aluminum strip and elastic layer. After this procedure, dry both parts and wipe gently with cotton swabs.
Step 4
Now you need to check exactly where the path is broken. To do this, you need to ring all problem areas. Where the track will not ring or the tester will show too much resistance, there is a damaged area. You will have to explore the entire keyboard canvas in this way. The damaged areas need to be redrawn. To do this, purchase a special conductive paint. It is she who needs to draw all the damaged tracks. After that, let the canvas dry. Set it aside for one and a half to two hours. After drying, it is necessary to assemble the keyboard in the reverse order. Install it in your laptop and check if it works.


