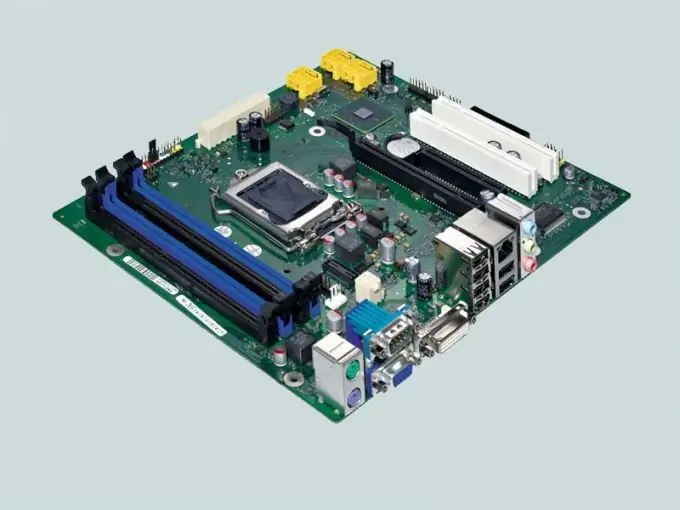
Network cards are used to connect computers over a network. They are of two types - external and integrated into the motherboard. If you need to disable the integrated network adapter, you can do this in the BIOS or using Windows tools.

Instructions
Step 1
Turn on your computer. After the initial boot, the message "Press Delete to Setup" appears on the bottom line of the screen. Different manufacturers use different keys to enter BIOS (Basic In-Out System). Most often these are Delete, F2, F10, Esc.
Step 2
In the BIOS menu, find the item that contains information about the integrated devices. In some versions, it is called Peripheral Setup or Integrated Device. Search by brute force - open all the menu items in sequence until you find the OnBoard Lan device.
Step 3
For integrated equipment, two states are possible - Enable and Disable. The first means that the device is turned on and working, the second means it is turned off and not in use. Set the on-board network adapter to Disable and press the F10 key to exit the BIOS and save the changes. Confirm your selection if prompted by the system.
Step 4
You can also disable the network card using Windows tools. To open the context menu, right-click on the "My Computer" icon. Select the bottommost item "Properties". In the System Properties window, go to the Hardware tab and click Device Manager. Find the "Network Cards" item and double-click it to open it. In the list of network devices, right-click on the name of the built-in network card. In the context menu, select the "Disable" option. Confirm the decision by answering "Yes" to the system question. A red cross appears over the network card icon.
Step 5
If you want to reconnect the built-in network adapter, select the "Activate" command in the context menu - the red cross will disappear, the device is ready for use. There is a "Delete" item in the list of commands. If you enable it, after reboot, the system will report "Found a new device" and start looking for a driver for it.


