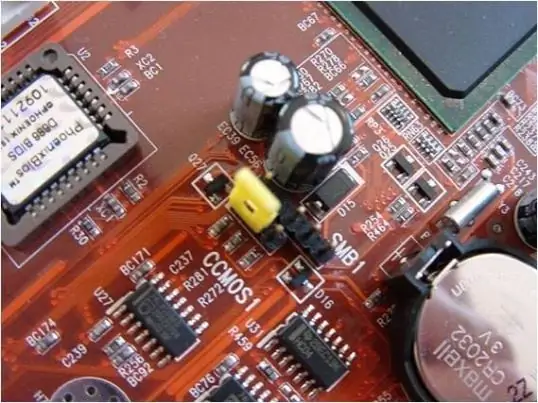
Modern motherboards are equipped with a built-in sound card. An additional sound card is most often needed to connect powerful speakers to a PC. Sometimes she is put as a replacement for her own, which is out of order. In some cases, due to the installation of an additional card with sound, problems arise, and disabling the integrated sound card through the device manager is not always effective. Then the shutdown has to be done through the BIOS.

Instructions
Step 1
First you need to enter BIOS. To do this, turn on the computer and press one of the keyboard buttons or a combination of those before the operating system boot screen appears. Frequently used keys are Delete (newer versions of AwardBIOS, AMI BIOS, Phoenix BIOS on most PCs), F1 (some Sony, Lenovo, Toshiba, Packard Bell), F2 (some Lenovo, Packard Bell, Acer, Sony Vaio), F11 (some some HP), Esc (Toshiba, HP or Dell). On the first boot screen, a hint is usually given which key or combination must be pressed to get into my BIOS (a message like Press *** to Enter Setup).
Step 2
After successfully entering the BIOS, find the item responsible for managing built-in devices. Its name can be different in different BIOS versions. You need to search for Intergrated Peripherials. If this is not the case, then in the Advanced Features or Chipset item, select Onboard devices.
Step 3
Select the onboard sound card from the list of integrated cards. It will be named Realtek Audio, AC97, Onboard Sound or Audio (depending on the BIOS and the type of sound card). This component must be selected and put into the Disable state from Enable.
Step 4
After making the changes, you should exit the BIOS, saving the settings. To do this, there is an item Exit and save changes, which in many BIOS versions can be called with the F10 key. After this operation, the computer will reboot itself, after which the built-in sound card will be disabled.


