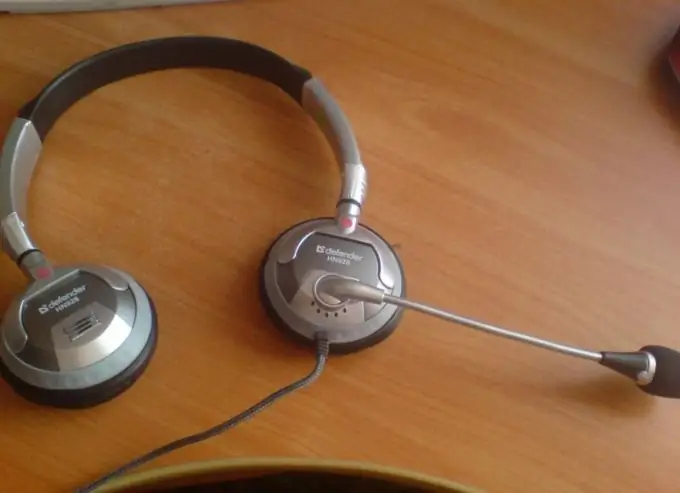
Connecting equipment for communication often raises many questions from computer users. The main problem can be both in the computer and in the software, and often even in headphones with a microphone. There are several ways to troubleshoot the problem.

Instructions
Step 1
Locate the sound card connectors on your computer. They are usually located on the back of the system unit. If you have a laptop or netbook, the connectors are usually on the left and on the front of the case.
Step 2
It may also be that you have not one, but two or more sound cards (one of them may be built into the motherboard). In this case, install the drivers from the manufacturers' websites for both.
Step 3
Make sure the device is working properly. To do this, you need to do the following. Connect your headphones and microphone to the green and pink jacks on your sound card, respectively. If they are not marked with colors, then look for the corresponding signs next to them.
Step 4
Check the status of the microphone and headphones using the Sound Devices control panel menu. In the window that opens, go to the "Speech" tab and adjust the sound volume settings.
Step 5
Download Skype software. To do this, go to the official website of the application https://www.skype.com/intl/ru/get-skype/on-your-computer/windows/. It is best not to download such programs from third-party resources, as cases of fraud have become more frequent. To register in the system, you do not need to send paid SMS or any other type of payment.
Step 6
Install the program. If necessary, make a test call to a special test service - his contact will be on your list the first time you start it. If necessary, adjust the volume settings for the program using the system configuration menu.
Step 7
If you have problems, make sure that the sound is turned on not only in the device itself, but also in Windows. To do this, double-click the sound settings icon on the program shortcut bar running in the background and adjust the settings.


